
Here are my top 10 cheesecake baking tips and tricks to make sure you bake perfect cheesecake every time! Cheesecakes are one of my all-time favorite desserts and you can make them ahead of time and they freeze beautifully, I love that about them!
1. Read the recipe before beginning and use the right ingredients and pans.
Often times we think we can scan a recipe and get away with it, but with something like a cheesecake I highly suggest you take the time to read the recipe from start to finish. Cheesecakes are not hard to make but they are time-consuming and if you have to rush the baking or cooling process you can easily ruin your cheesecake.
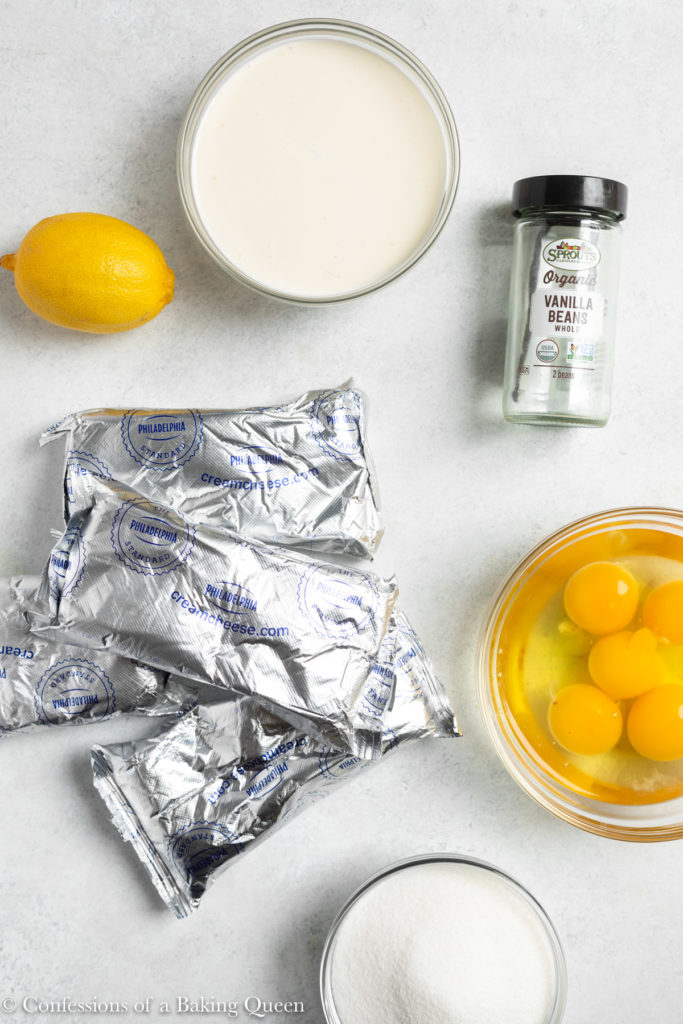
You also want to make sure you use the proper ingredients, using full-fat cream cheese brick-style is key to creating the best cheesecake. Whipped cream cheese will not produce the same effect and nor will low-fat cream cheese.
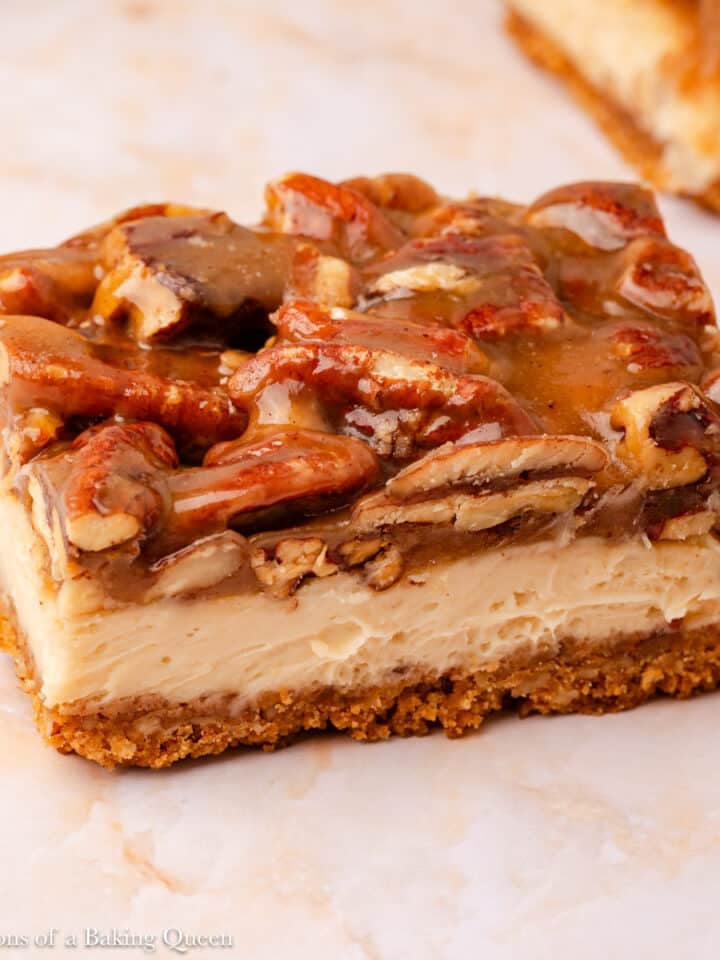
Using a springform pan is a non-negotiable for me. A springform pan has sides that come off so that you can easily remove your cheesecake from the pan without breaking it. I also sometimes use a pan with a removable bottom, it's not as sure-safe as a springform pan but better than a normal cake pan. In a pinch you could use a cake pan that has been heavily lined with foil so that you can lift the cheesecake out of the pan, I do this for my cheesecake bars but they are not as thick and heavy as some of my regular cheesecakes which due to their heavier nature are harder to lift out.
On my recipe pages at the top, you will find a button that says Jump to Recipe, this will take you directly to the recipe card with ingredient quantities and instructions, BUT in the post, there are step-by-step photos along with more tips and tricks to make the recipe.
2. Room Temperature Ingredients
Taking the extra couple of minutes to prepare your ingredients is another crucial ingredient to a successfully baked cheesecake.
Room temperature ingredients emulsify into other ingredients much more smoothly and successfully. Your cream cheese especially needs to be completely softened to room temperature, it should be soft to the touch but not melted. Too cold cream cheese will not mix up into a smooth batter, you will end up with a lumpy cheesecake if your cream cheese is too cold!
If your recipe calls for heavy cream or sour cream, a lot of my cheesecake recipes do, those two also need to be at room temperature as well. You can slightly warm these over the stove on low heat for a couple of minutes or in the microwave for a few seconds to take the chill off of them.
You guessed it, the eggs also need to be at room temperature. To quickly make your eggs room temperature you can place them in a bowl of warm water for 5 minutes before cracking.
To get your cream cheese to room temperature quickly you can do a couple of different things:
- Placing the cream cheese in a bowl of warm water for 5-10 minutes to soften it, be careful not to leave it too long you don't want runny cream cheese! This is my preferred method of choice.
- Cut the blocks of cream cheese into smaller cubes and let them sit on the counter for about an hour or so, depending on how warm or cold your kitchen is.
- Some people have had success microwaving cream cheese but I personally do not recomend this method, it's too easy to melt some of the cream cheese.

3. Be careful when you mix
You want to mix everything at low to medium low speed ideally. The higher the speed and more you mix will create more air in the batter which will cause cracks while the cheesecake bakes.
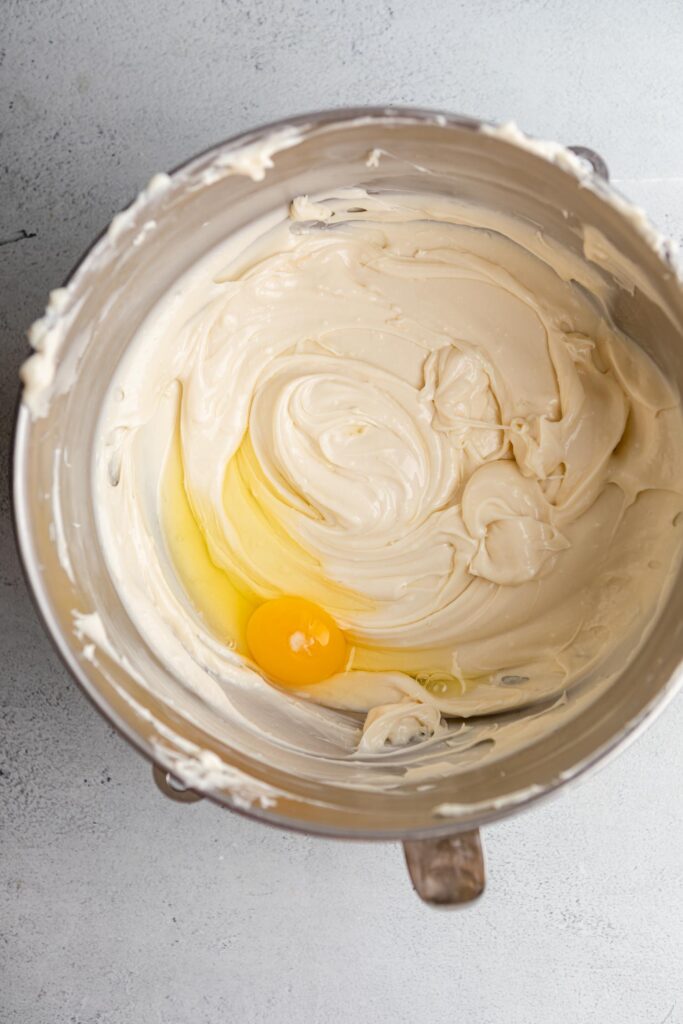
When you are adding the eggs especially you just want to mix until no trace of egg yolk is left behind, no need to give it anymore mixing.
You can use an electric stand mixer or a hand mixer or use a whisk if that is all you have on hand. Use a paddle attachment versus a whisk for the stand mixer.
4. Tap the air bubbles out
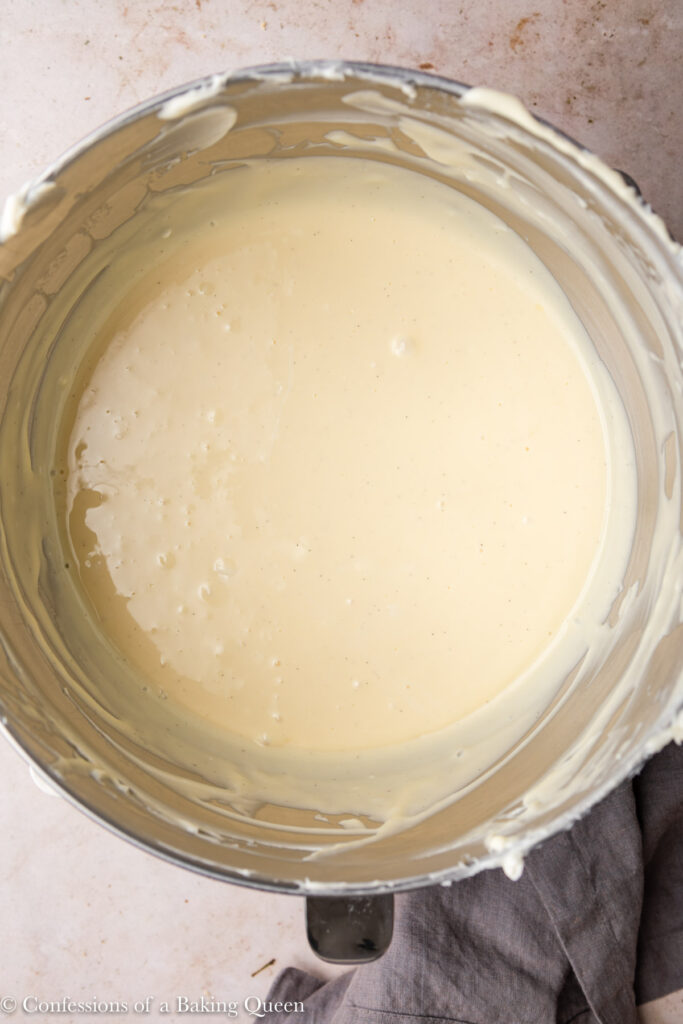
Naturally, when you mix the cheesecake batter you are going to create some air, so as soon as I am done mixing I take the bowl and tap it on the counter a few times to encourage the air bubbles to move to the top and break.
Once I pour the batter into the pan I also tap the pan on the counter a couple of times before I add it to the water bath.
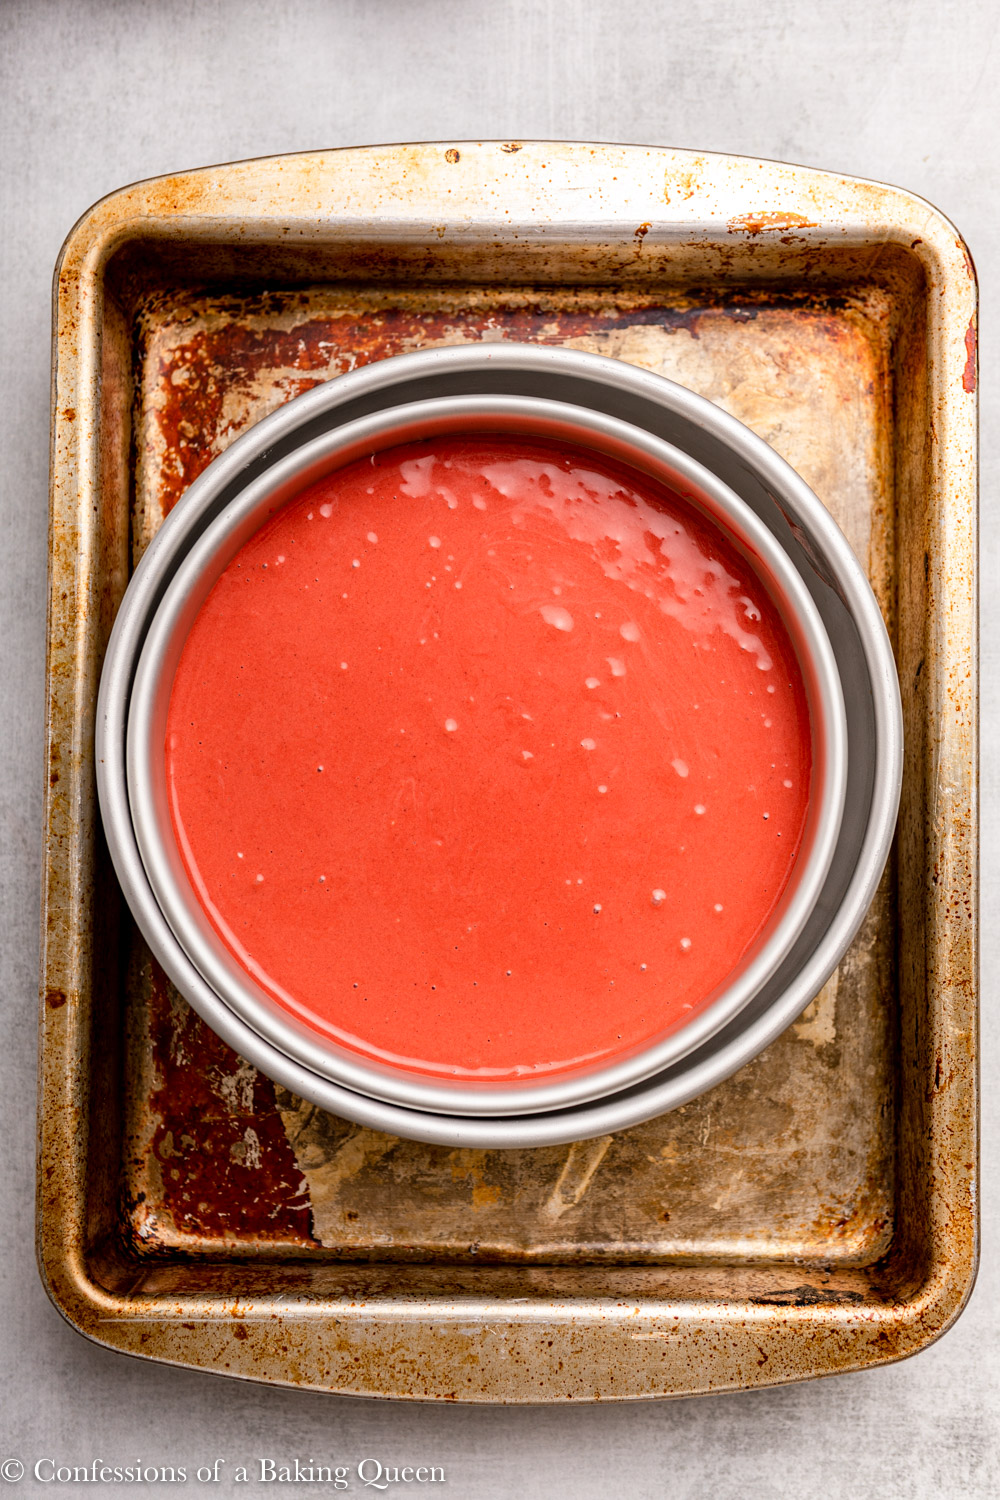
5. Bake in a water bath
Cheesecake dries out when it bakes so creating a moister environment than a normal dry one is key. You can do this by creating a water bath.
The idea is to bake the cheesecake in a pan full of water, which also helps control the temperature that the cheesecake is baking. Because a cheesecake is traditionally baked in a pan that has a removable bottom, a springform pan, you run the risk of the water seeping into the pan. To prevent this most recipes call for wrapping the whole springform pan bottom in foil so it prevents water from being able to seep in. The trouble with this is the aluminum foil could tear, allowing water to get in, and it's also a lot of foil to waste. So I like to take a larger cake pan that has a permanent bottom (no area for water to seep in) and place the springform pan in that traditional cake pan and then place those two pans inside a large roasting pan. And add the hot water to the roasting pan. I often place the roasting pan and cheesecake in the oven first then use a kettle to fill the roasting pan to avoid the water splashing.
You could also place the springform pan in a large saute pan or frying pan that is oven safe.
6. Let the cheesecake cool in the oven and on the countertop
One of the sure-fire ways to crack your cheesecake is to change the temperature too quickly. The best way to prevent sudden temperature changes is to cool the cheesecake slowly.
Once your cheesecake is "done" the outside will be set and the center will have a slight wobble, alternatively, you can take the internal temperature for accuracy, which I often do especially if I know I am covering the cheesecake with a topping. I use my digital instead read thermometer to check the internal temperature has reached 145F/63C. Now you will turn the oven off but prop the door open, some ovens will hold open ajar other ovens won't so you can just stick a wooden spoon in between the oven door and oven to keep it open. Let the cheesecake cool in the oven for about an hour.
After an hour remove the cheesecake from the oven and from the water bath then set it on a wire rack to cool for another hour or so before the refigerator. This incredibly slow cooling process ensures the temperature doesn't drastically change causing cracks.
7. Chill the cheesecake overnight
Once you have taken the time to properly cool your cheesecake you can chill it. Wrap the cheesecake in plastic wrap tightly then store in the fridge for 6-8 hours or overnight. I always let mine chill overnight, it's just easier to prep the cheesecake the day before.
This long chill time allows the cheesecake to properly set up. Don't skip it!

8. Run a knife around the edge and remove properly
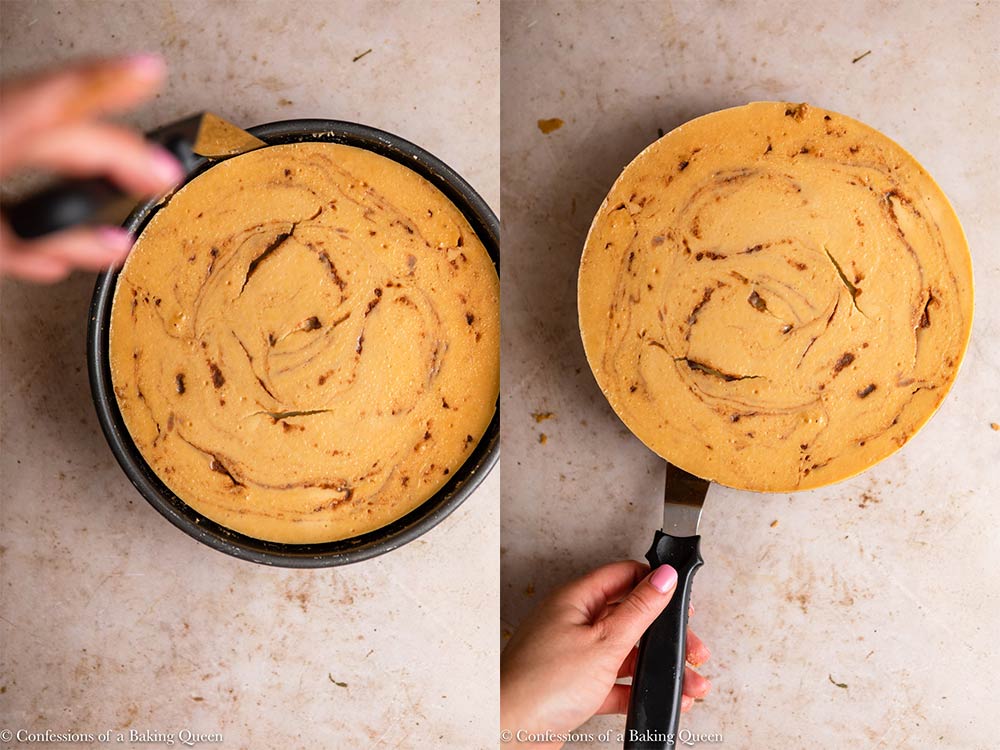
To remove the cheesecake from the springform pan use a knife or offset spatula to gently loosen it from the sides of the pan then remove the sides and use the spatula to loosen the crust from the bottom of the pan too. If you are going to transfer the cheesecake to a serving plate or cake stand I highly suggest using a cake lifter.
9. Clean Slices
When you are slicing cheesecake it will stick to the knife, no doubt about it. If you don't mind having messy-looking slices then slice away. But if you would like clean slices then I suggest doing this. Use a large knife dipped in hot water, then wipe the knife clean with a clean towel to slice the cheesecake. Dip the knife back in hot water and wipe clean after each slice. I also like to use a large knife when slicing as well.

10. Let cheesecake warm up before serving
Let the cheesecake sit at room temperature for 10 minutes before slicing. Cheesecakes taste best after it sits at room temperature for a little.
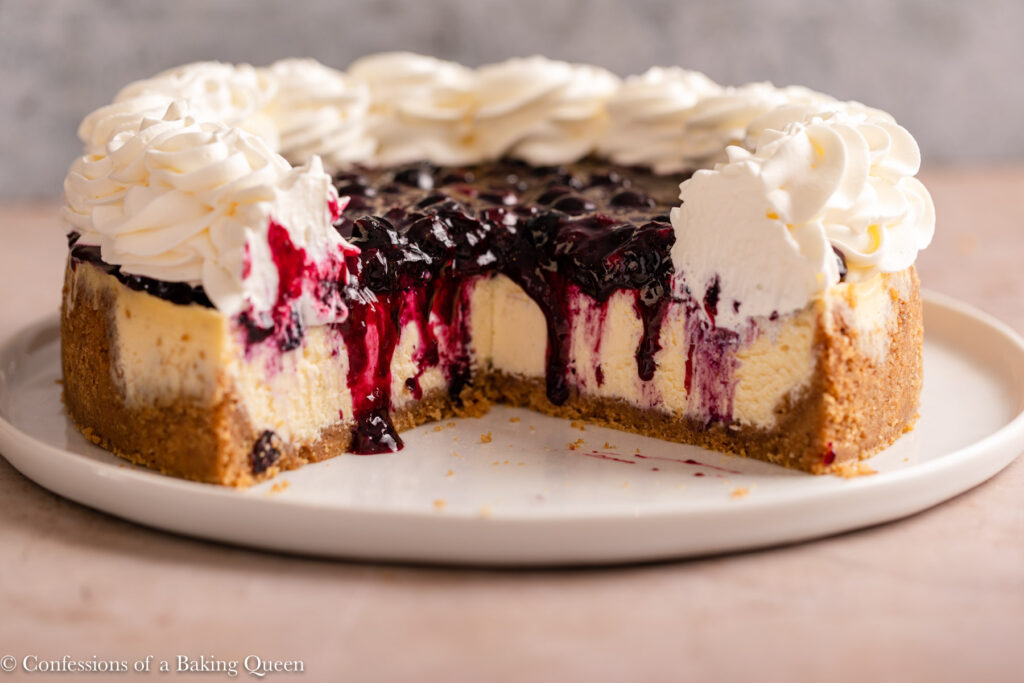
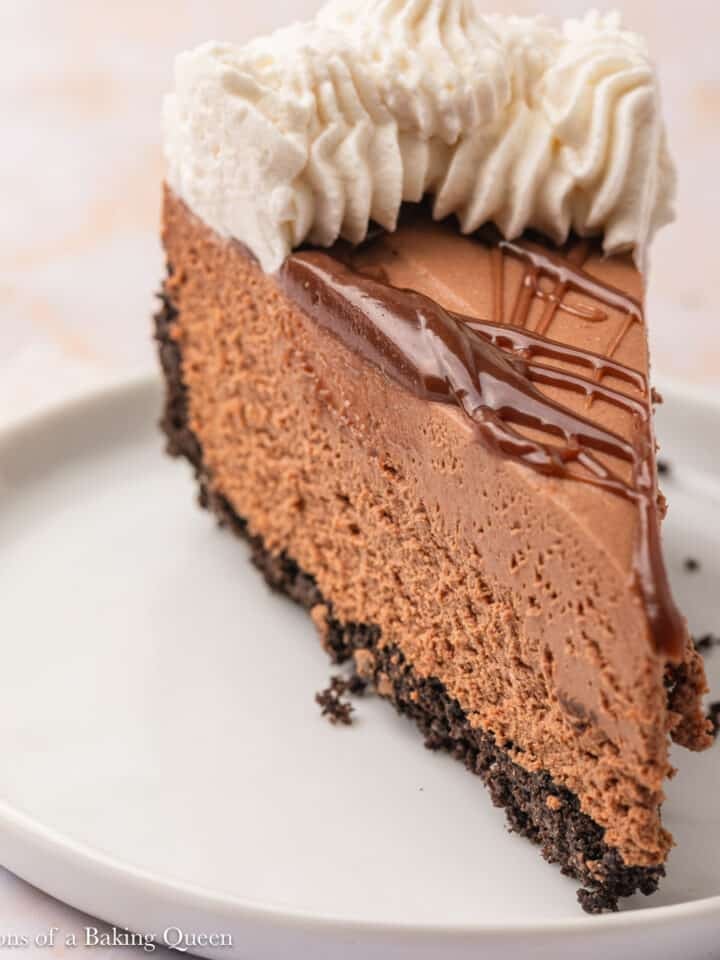
Bonus Tip: Cover up any cracks
If for some reason you end up with a cracked cheesecake then top it with whipped cream, chocolate ganache, or a berry topping.
These recipes call for a topping:


Dolores Connolly says
Can I double this the amount in receipie to make cheesecake bigger. I am having a pre wedding large crowd. Thank you
Elizabeth Waterson says
Hi Dolores, not sure which recipe you are discussing doubling as this is the tips post but you can most certainly double just will affect the pan size and baking time! Please reach out if I can help further! XX Liz
Dolores Connolly says
I am having pre wedding crowd. Can I double ingredients to make a larger one please
Thank you
Dolores
Diane Anthony says
Hello Elizabeth,
Can I use any full size cheesecake recipe to make mini cheesecakes< or is the batter different?
Elizabeth Waterson says
Hi Diane, no I use the same batter! Hope that helps! XX Liz