

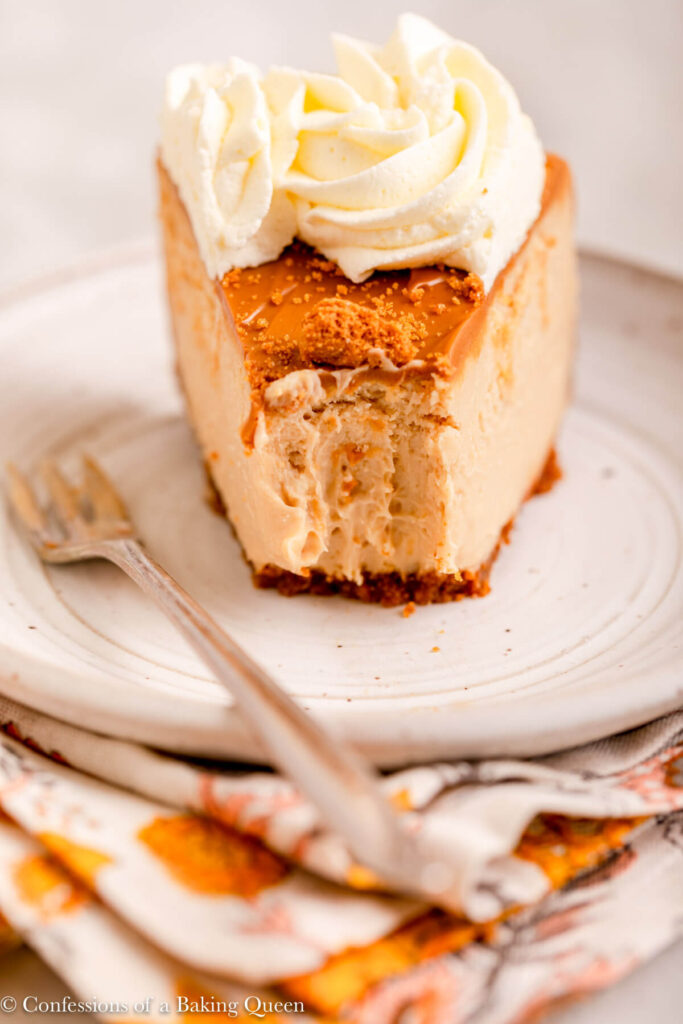
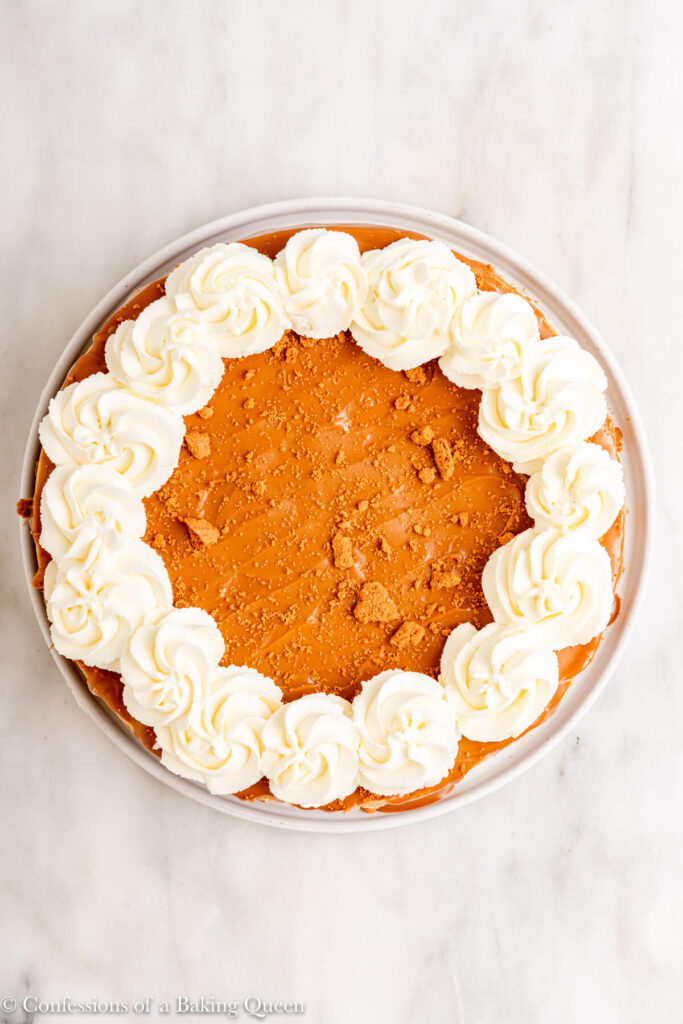
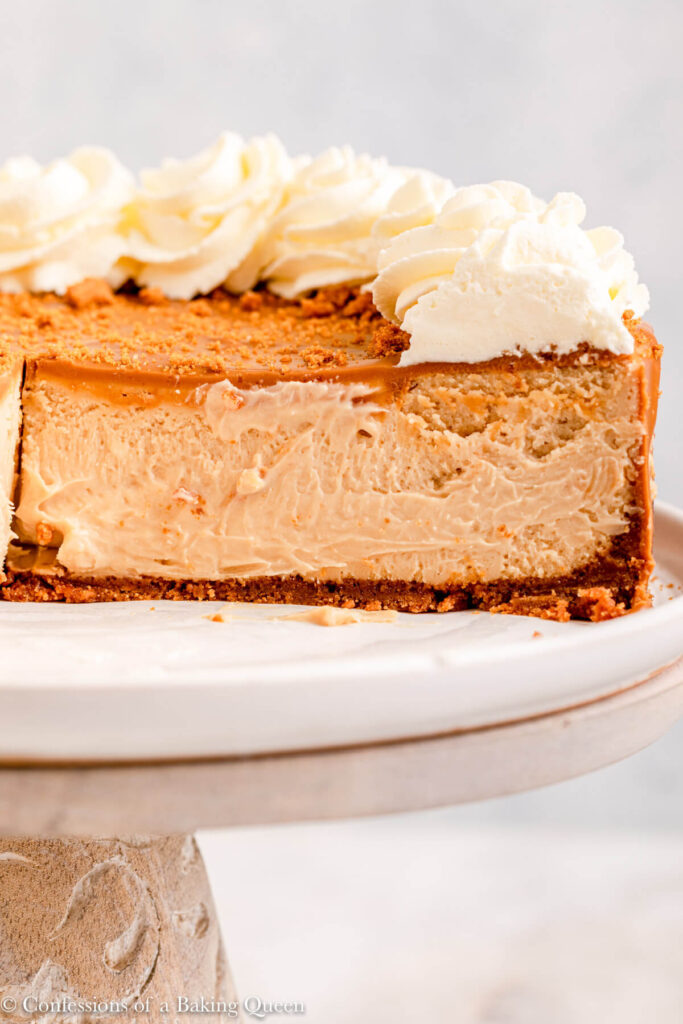
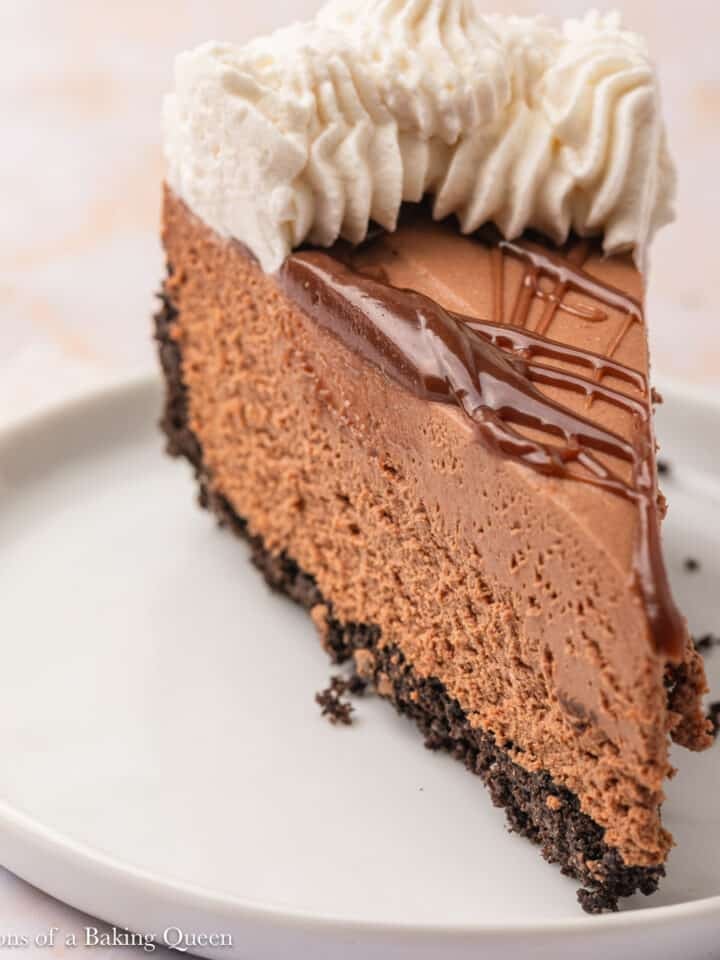
This Biscoff cheesecake is ultra creamy, rich, and packed with warm cookie butter flavor in every bite. I've found using Lotus Biscoff cookies in both the crust and topping creates the best balance of texture while the cookie butter spread melts beautifully into the cheesecake filling. The combination of the silky cheesecake center, crunchy cookie crust, and smooth Biscoff topping makes this one of those desserts people immediately ask about after the first bite.
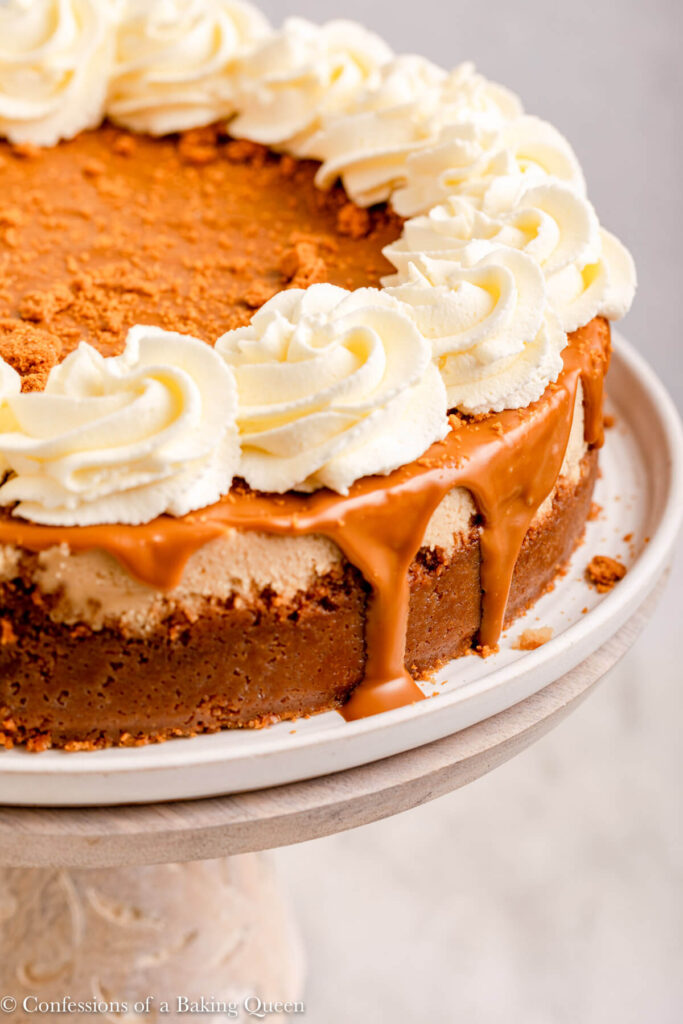
Two of my favorites are finally married, cheesecake and Biscoff cookie butter spread. It was only natural that they would be a match made in heaven. Truly the warmth you get from Biscoff paired with the creamy, silky cheesecake is unreal.
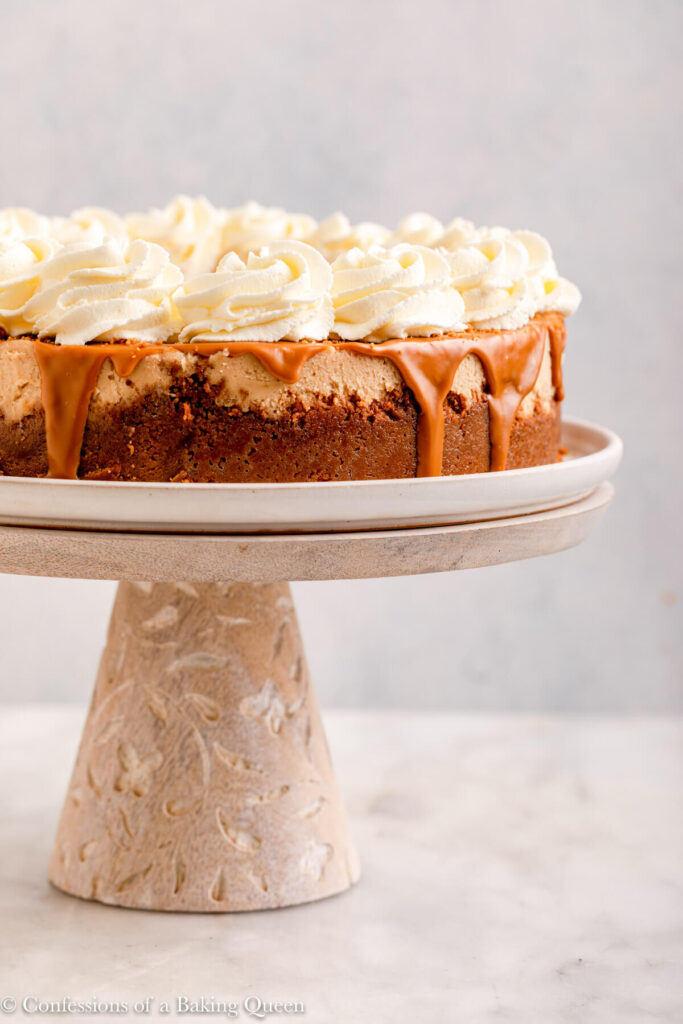
Like most of my cheesecake recipes, this is a perfect dessert to make ahead. I almost always make my cheesecake a day or two ahead of time due to the long cooling and chilling time. If you're not into apple or pumpkin desserts this cookie butter cheesecake would be a perfect Thanksgiving dessert.
The Ingredients Behind All That Cookie Butter Flavor
- Lotus Biscoff Cookies: I love using Biscoff cookies in the crust because they add warm caramelized spice flavor that makes the cheesecake taste extra rich.
- Biscoff Spread / Cookie Butter: I've found warming the cookie butter slightly makes it much easier to swirl and spread smoothly throughout the cheesecake.
- Cream Cheese: I always make sure the cream cheese is fully softened because I've found it's the key to getting a silky cheesecake batter with no lumps. And after testing I have found that you will see the white lumps of cream cheese amongst the brown cookie butter cheesecake batter.
- Sour Cream: I like using sour cream for this cheesecake batter because it helps keep the cheesecake creamy while balancing the sweetness from the cookie butter.
- Heavy Cream: I've found after testing adding a little heavy cream helps create an extra smooth, luxurious texture in the filling. Since the cookie butter is so heavy.
Let's Bake Something Ridiculously Good
Try my creme brulee cheesecake recipe next!
Don't let cheesecake break your heart, check out all my cheesecake baking tips.
★★★★★ Please let me know if you make this recipe by leaving a star rating and comment below!
Make sure to join our Newsletter and follow us on Pinterest, Instagram, Facebook, & Twitter.
PrintRecipe Card
Silky Cookie Butter Cheesecake with Biscoff Topping
This Biscoff cheesecake is ultra creamy, rich, and packed with warm cookie butter flavor in every bite. I've found using Lotus Biscoff cookies in both the crust and topping creates the best balance of texture while the cookie butter spread melts beautifully into the cheesecake filling. The combination of the silky cheesecake center, crunchy cookie crust, and smooth Biscoff topping makes this one of those desserts people immediately ask about after the first bite.
- Total Time: 12 Hours
- Yield: 10-12 Slices 1x
Ingredients
Crust
Cheesecake
- 32oz Cream Cheese, completely softened to room temperature
- 6oz Creamy Cookie Butter, at room temperature
- 250 grams Granulated Sugar/ Caster Sugar
- 2oz Heavy Cream, at room temperature
- 2oz Sour Cream, at room temperature
- 1 Tablespoon Pure Vanilla Extract
- 3 Large Eggs, at room temperature
- 1 Large Egg yolk, at room temperature
Topping
- 4oz Cookie Butter, melted
- 4 Biscoff Biscuits
- Homemade Stabilized Whipped Cream or Store-bought
Instructions
Crust
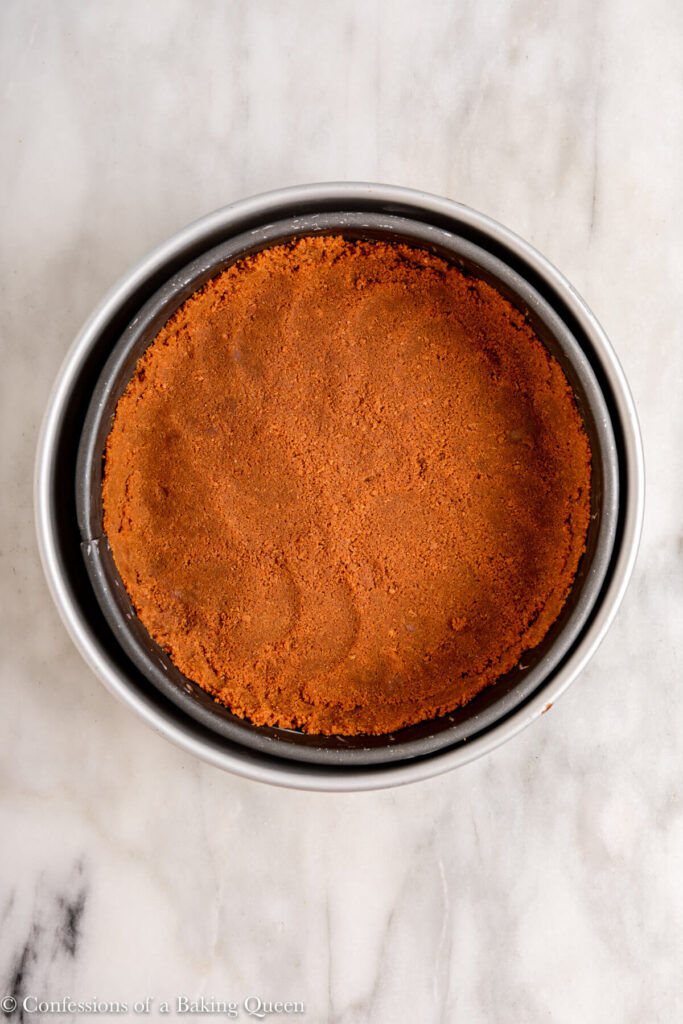
- Preheat oven to 350F/180C and grease a 9-inch springform pan then set aside.
- Prepare Biscoff cookie crust according to the recipe and bake for 5-8 minutes to set the crust. Let cool on a wire rack and continue preparing the cheesecake batter.
Cheesecake
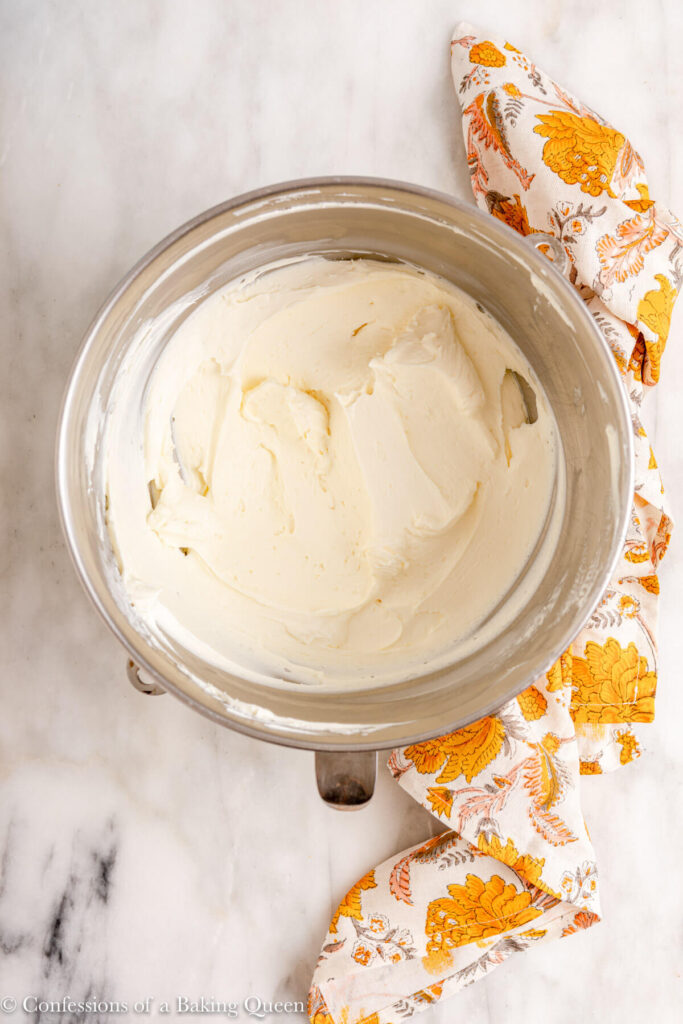
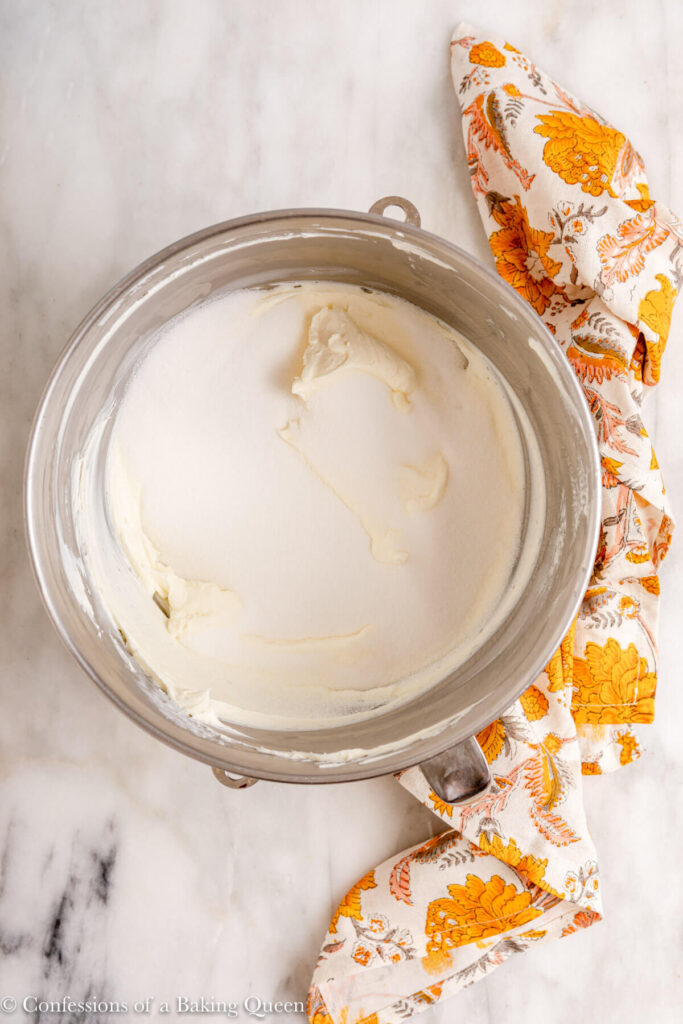
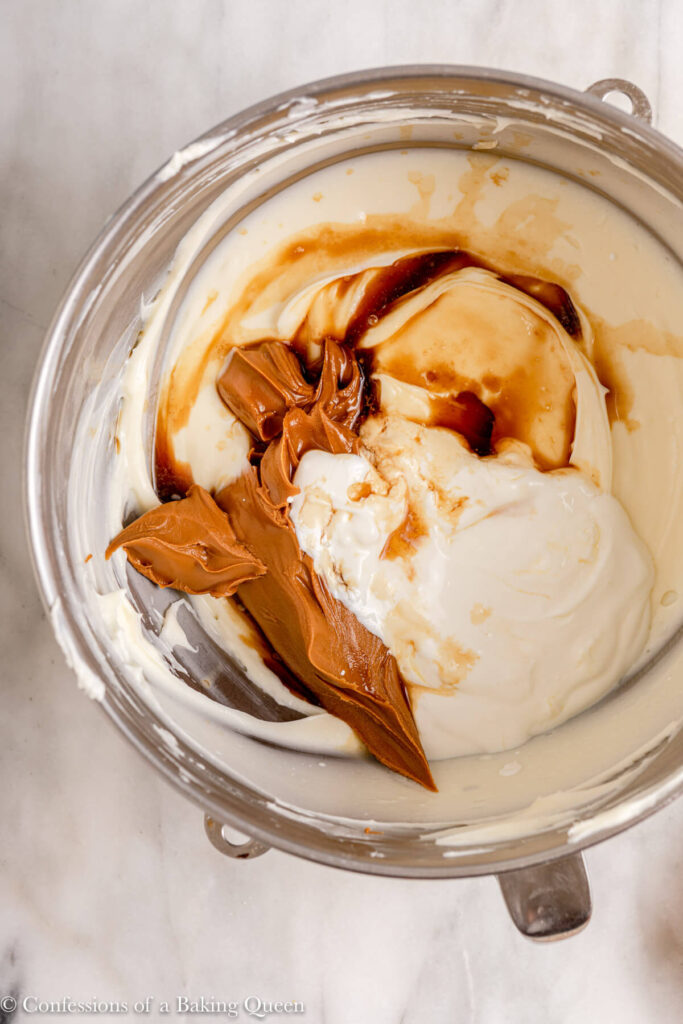
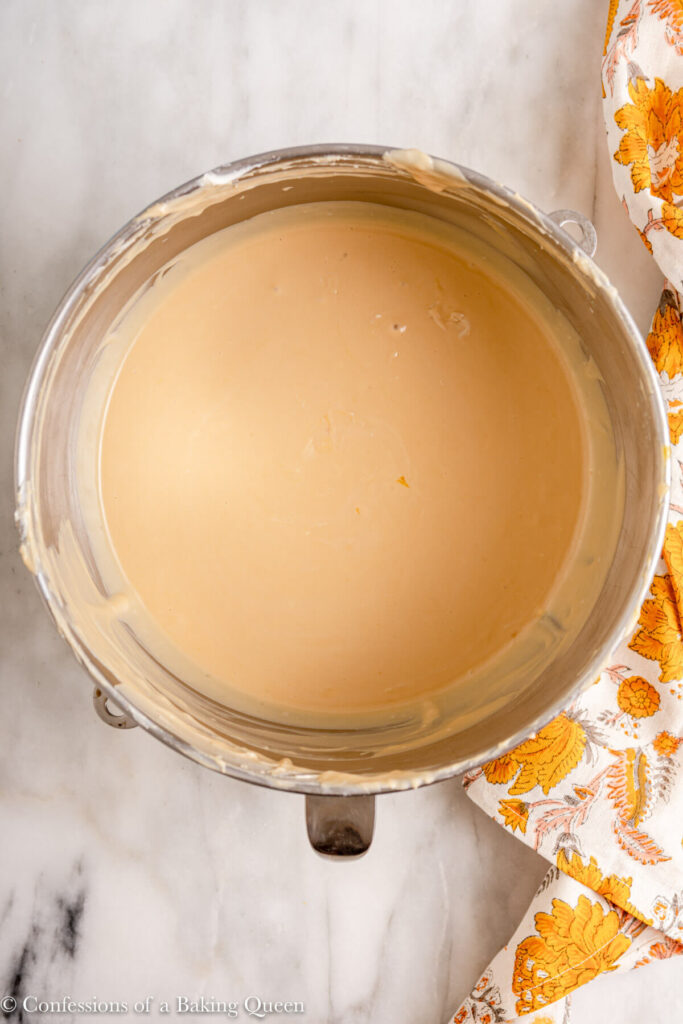
- In the bowl of an electric mixer fitted with a paddle attachment or large bowl with a hand-held electric mixer beat the cream cheese for 3 minutes on medium speed. It should be smooth with no lumps, make sure to scrape down the sides. Add the granulated sugar and beat for another 2 minutes. Add the cookie butter, heavy cream, sour cream, and vanilla extract- mixing until fully combined. Make sure to scrape the sides of the bowl to ensure everything is evenly combined.
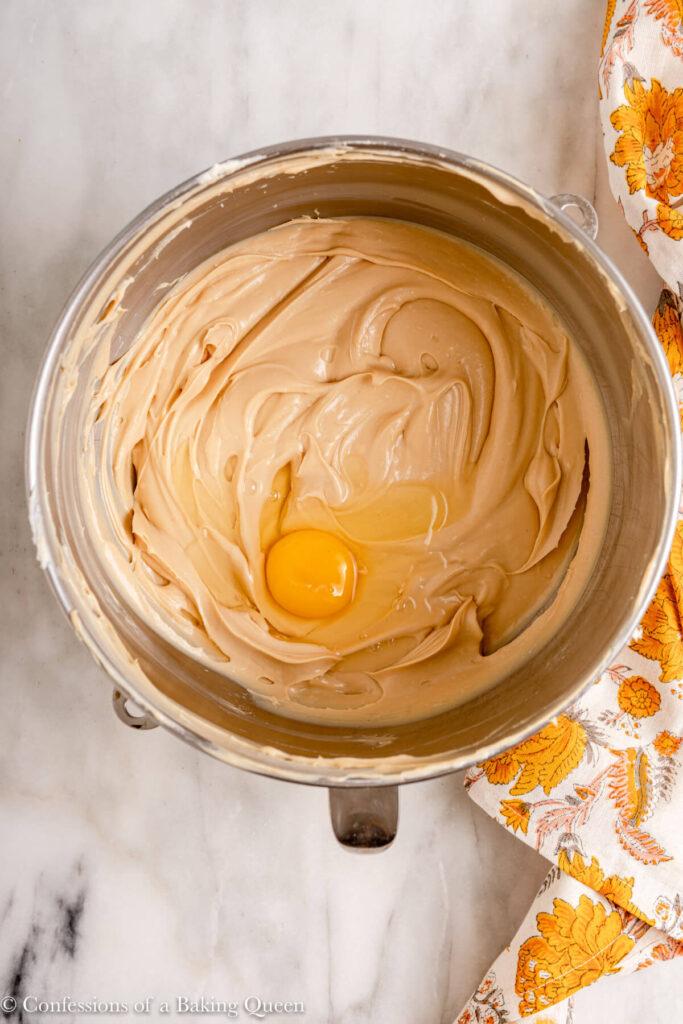
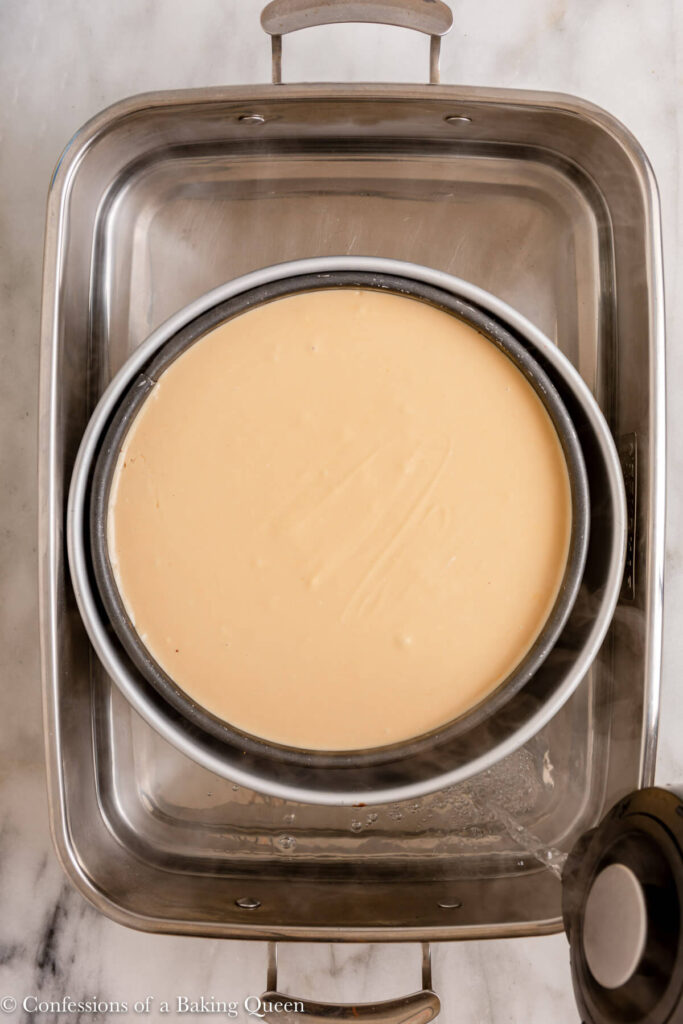
- Add in the eggs one at a time, mixing well after each addition. You should have a creamy batter with no lumps. Pour into the prepared pan. Place 9-inch springform pan in a 10-inch cake pan- place cake pan in roasting pan and fill roasting pan with hot water halfway up the sides of the cake pan. This prevents ANY water from getting in the cheesecake and you don't have to wrap everything with foil.
- Bake for 1 hour and 15 minutes to 1 hour and 25 minutes, the middle 2 inches of the cheesecake should jiggle just a little bit. I like to use an instant-read thermometer to check the internal temperature is 140-145F. Since we are covering the cheesecake in ganache it doesn't matter if you make a small hole.
- Turn the oven off and let the cheesecake rest for 30 minutes then open the door so it is cracked open, let the cheesecake cool in the oven for another 30 minutes then take it out of the roasting pan and cool on a wire rack for another hour. Then wrap cheesecake with plastic wrap. Let chill in the fridge overnight or for at least 8 hours. This long and slow cooling process helps prevent cracks, but since we are covering the top anyways it doesn't matter that much!
Topping
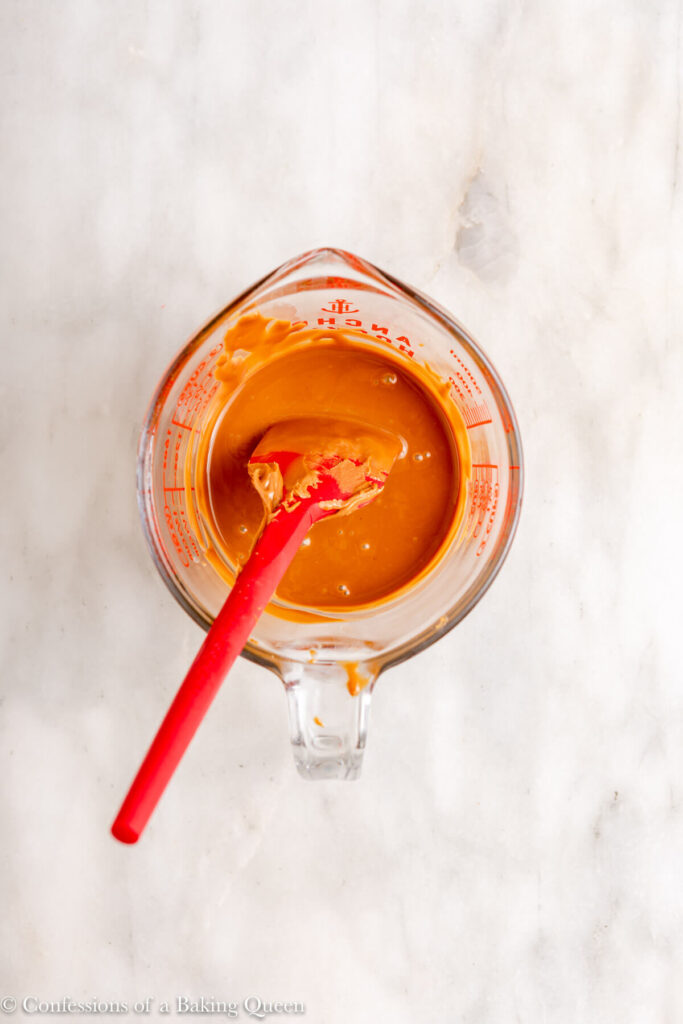
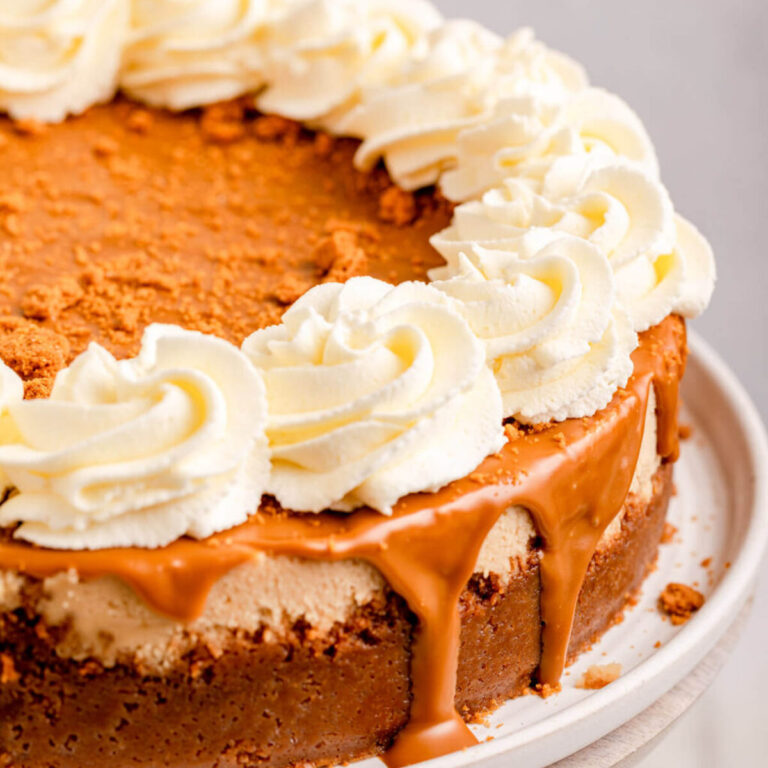
- Melt the cookie butter and set it aside to cool for 5 minutes, you want it quite liquidy to easily spread on top of the cheesecake.
- Take the cheesecake out of the fridge and use an angled spatula to gently release the crust from the sides of the springform pan, then release the pan and use the spatula to gently release the crust from the bottom of the pan, if you wanted to serve it on a different plate.
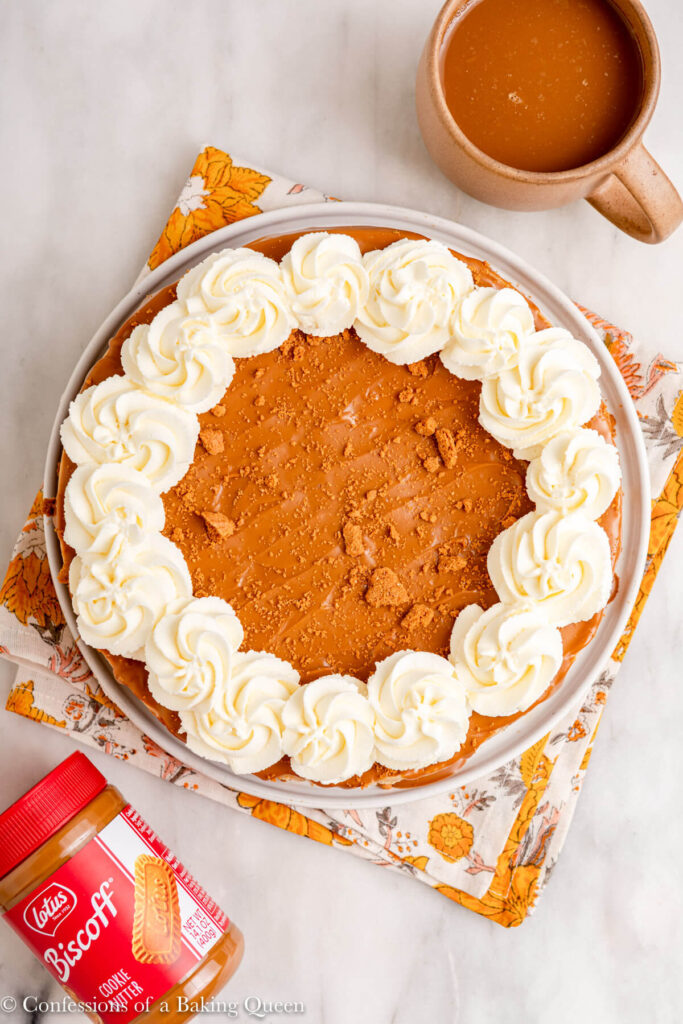
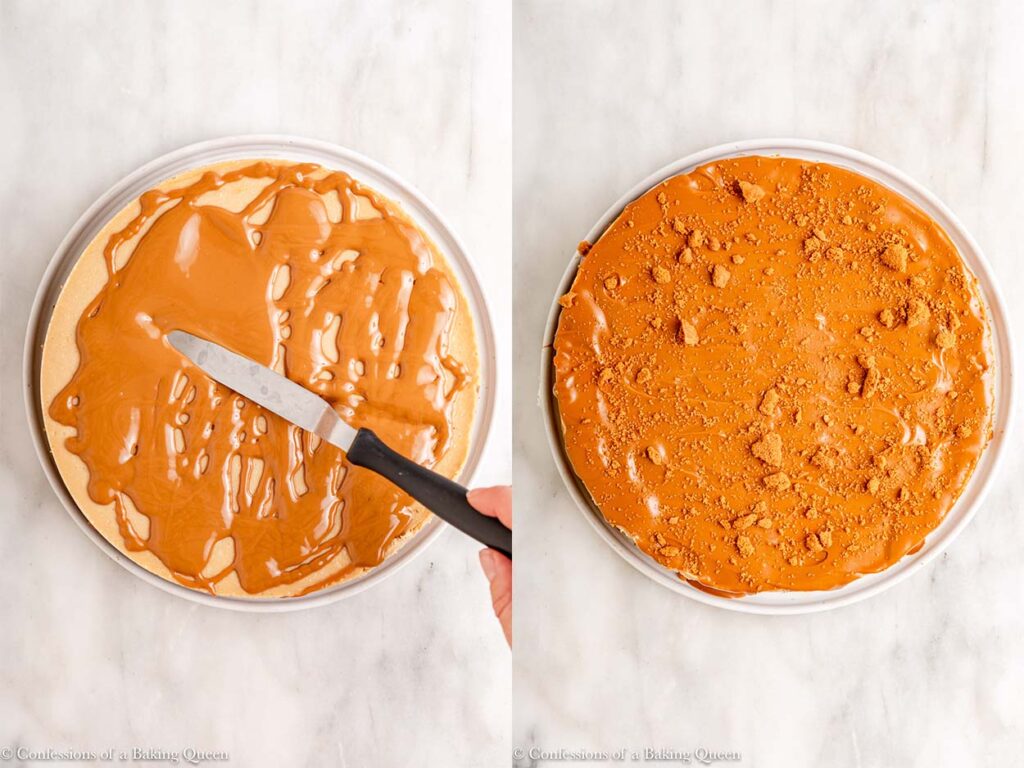
- Pour melted cookie butter on top then sprinkle crushed biscuits on top and pipe whipped cream around the edge. Let chill for at least 30 minutes before serving. Use a hot clean knife cut slices of cheesecake and clean the knife in between each slice. Store leftovers in the fridge for up to 5 days.


Notes
- To freeze a whole cheesecake I suggest freezing without the toppings. After the cheesecake has chilled in the fridge wrap it tightly in plastic wrap twice, then wrap it in aluminum foil. To make sure the cheesecake stays in its best shape I will often place the cheesecake on a cake board before wrapping it in plastic wrap. Freeze for up to a month. To thaw take the cheesecake out of the freezer and place it in the fridge overnight.
- To freeze slices of cheesecake take a slice of cheesecake and place it on a plate or tray and flash freeze for an hour or two. Then place frozen slices of cheesecake in a freezer-safe container. Or you can wrap individual pieces in plastic wrap, twice. To thaw a slice of cheesecake let it sit on the counter at room temperature for a couple of hours.
- Prep Time: 20 Minutes
- Chill Time: 10 Hours
- Cook Time: 80 Minutes
- Category: Dessert
- Method: Bake
- Cuisine: American


Comments
No Comments