
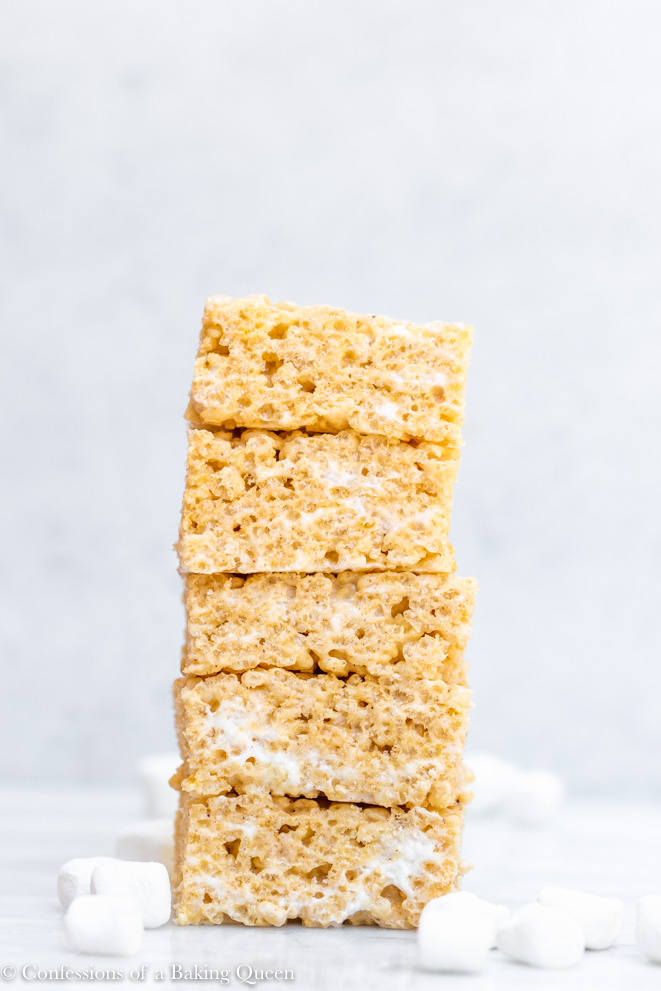
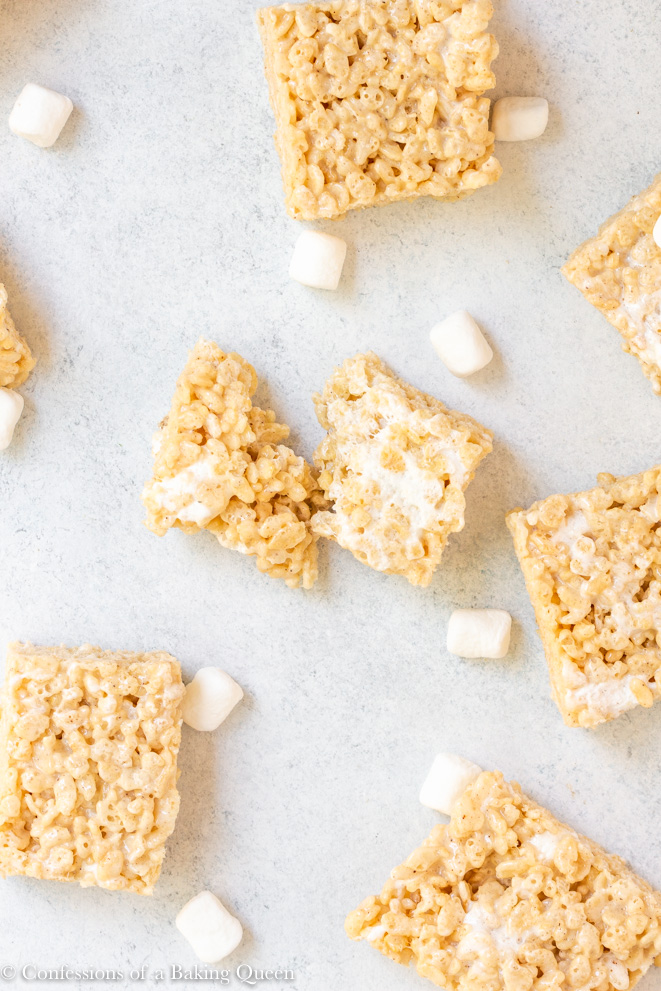
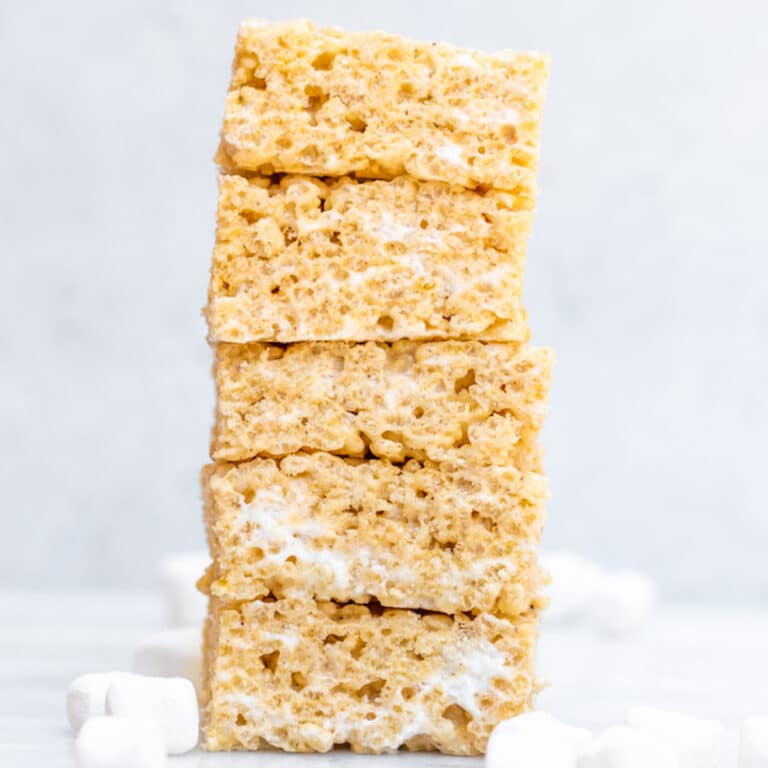
Easy, quick and delicious these Brown Butter Rice Krispies are perfect for a lunchtime treat or midnight snack. Gorgeous caramelized flavor from the brown butter and extra chewiness from the marshmallows!
I grew up in the 90's in California and Rice Krispies were one of the most frequent lunchtime treats. Those blue shiny wrappers were always a sign of a good lunch. Like most things, I think homemade is always better. You are able to control things, adjust them to your liking. I find some rice Krispies are just sickly sweet and often not chewy/ marshmallowy enough. This leads me to this brown butter rice Krispies recipe. It's easy to make, no-bake and can be made the day before.
I have made these a few times, most recently for a group of my friends and family who went to Big Bear for the 4th. Needless to say, these went down well and disappeared quite quickly.
For more classic treats check out my cosmic brownies recipe or easy chocolate cake too! Or if you love marshmallows you gotta try my recipe for cornflake marshmallow cookies.
Instructions
Rice Krispies are an easy treat to make. Butter, marshmallows, Rice cereal and a pinch of salt. When I was younger, when dessert recipes called for salt, I'd be like gross I don't need salt, so I would omit it. Big mistake, salt helps bring out flavors and makes them shine. Just a pinch is needed in this recipe.
Do I have to brown the butter?
While you definitely could just melt the butter, I love browned butter. I wrote a whole post on it here. The nutty, caramelized flavor it has is spectacular and in my opinion, just enhances the flavor. Check out my brown butter banana bread next!
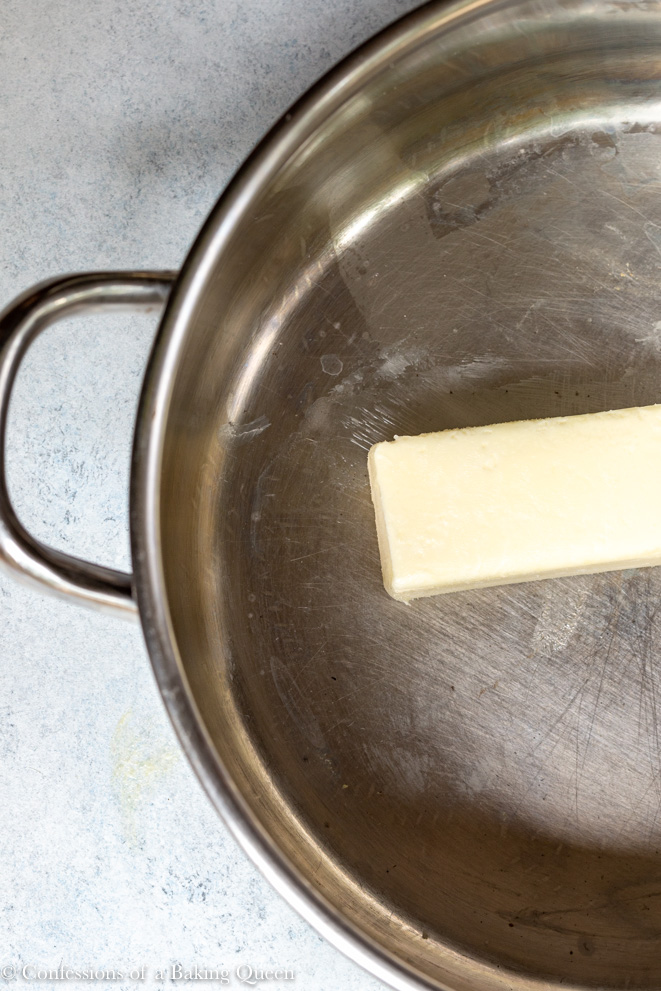
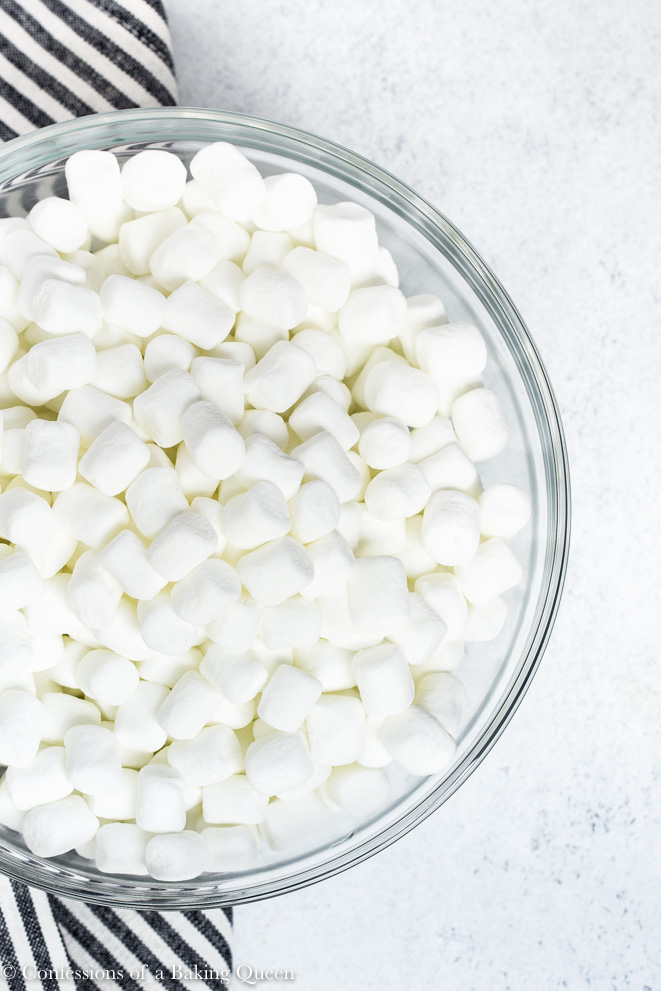
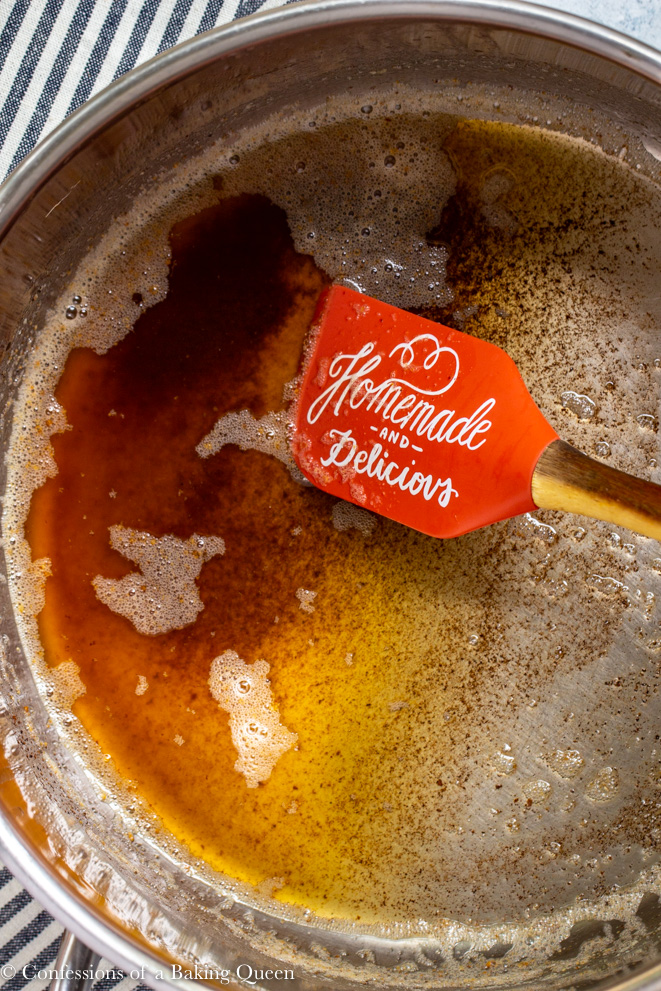
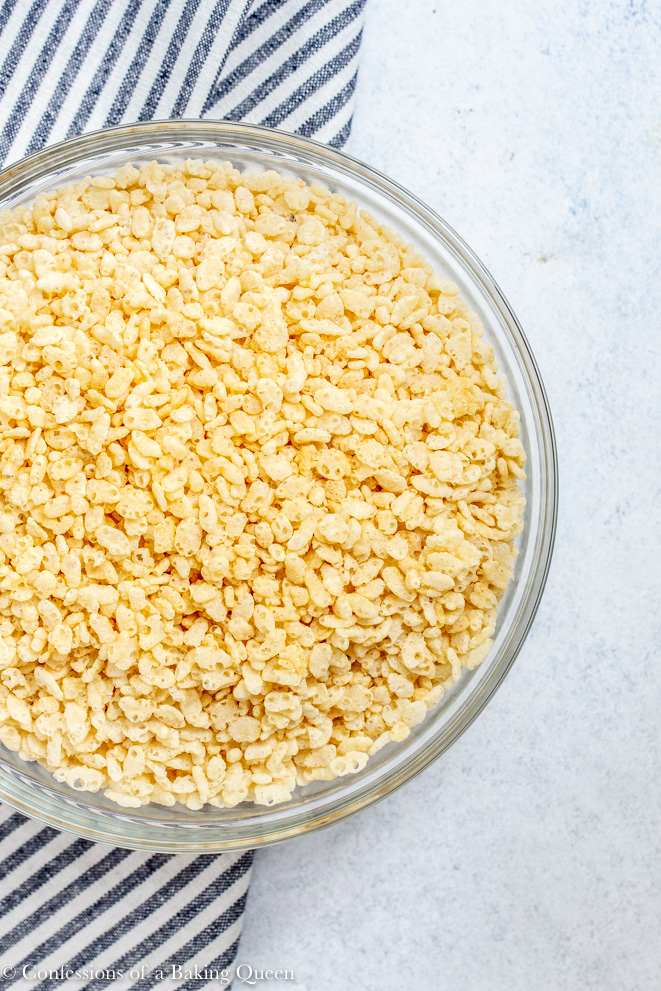
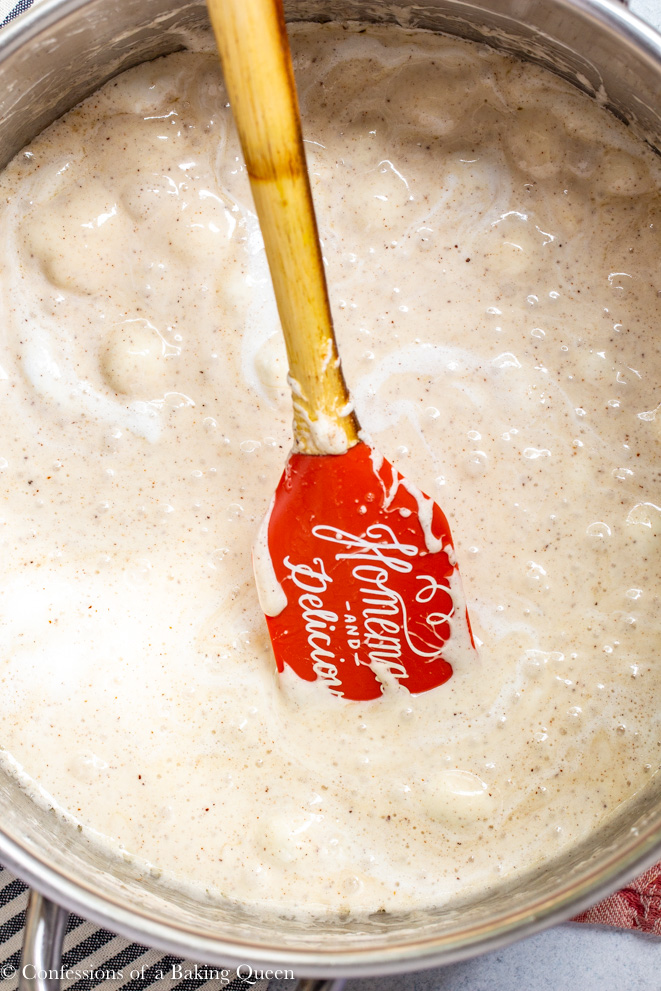
Start the recipe by placing your marshmallows in a large bowl and your rice krispies in another large bowl. The whole mis en place thing really works. (Mis en place means to set your space, put everything ready to go- helps you not forget to add something and move quickly when dealing with melting ingredients.) Then in a large pot over medium heat add your stick of butter, 4oz, and cook for a few minutes, stirring frequently until the butter has turned a golden brown with lots of brown specks.
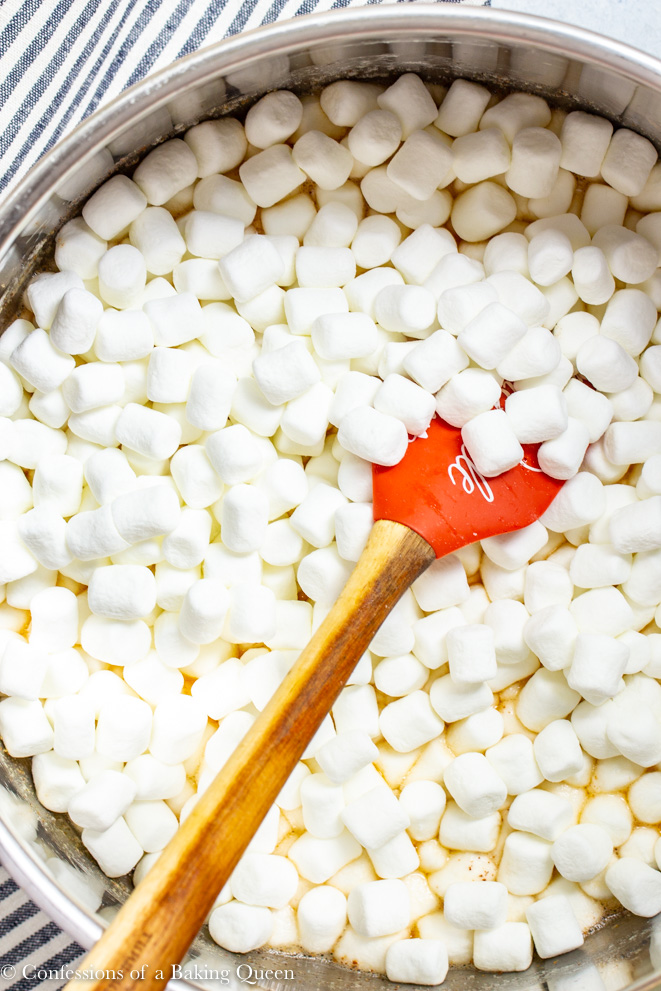
Once your butter has browned add your marshmallows, mix together softly. Look at those gorgeous brown flecks. Makes my heart flutter. Sad I know, but food is life.
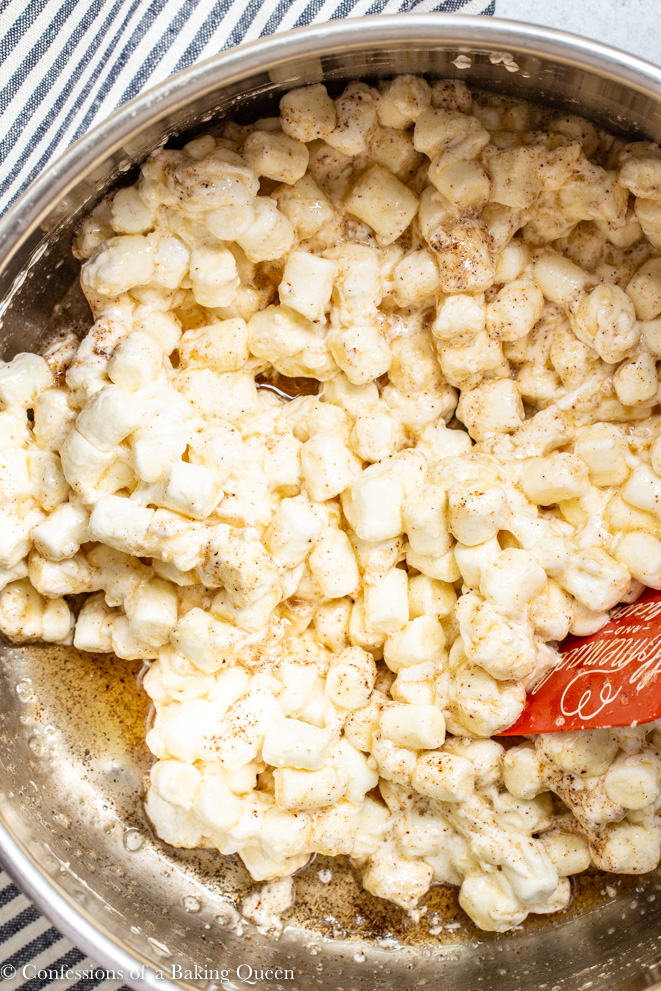
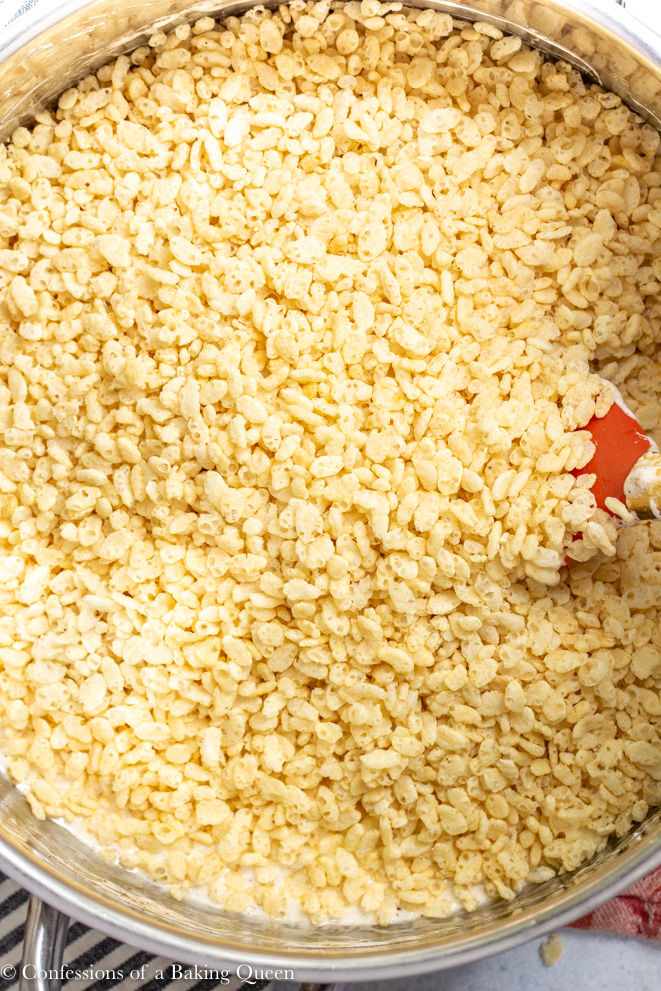
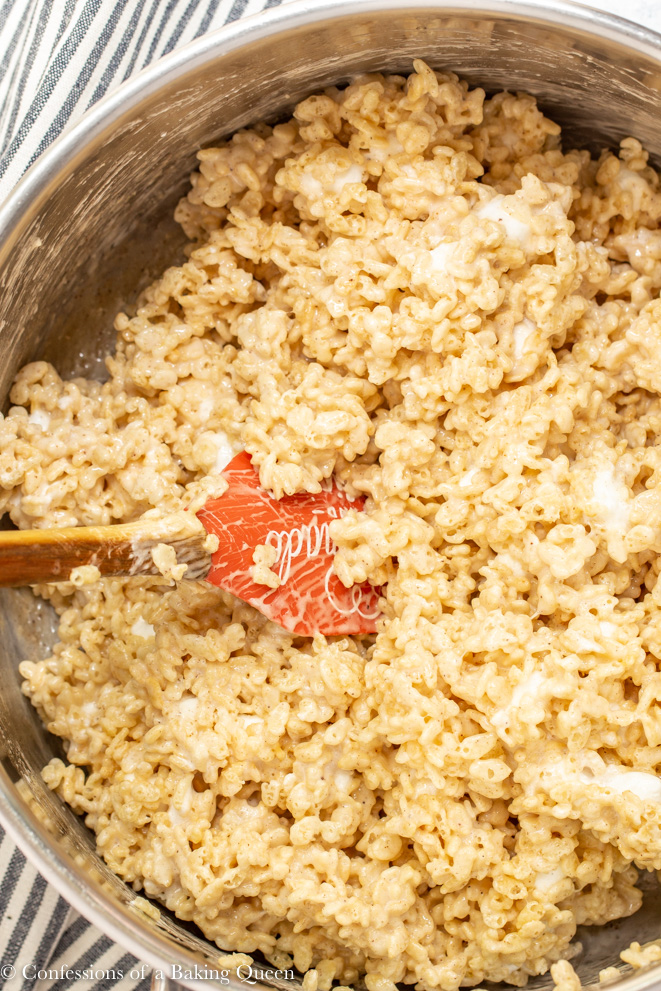
Once the majority of your marshmallows have melted add your rice cereal, mix that a few times, before it has completely combined add the remaining marshmallows from the bag. Adding the extra marshmallows is another tip to take these treats to the next level. Also- If I can use up the whole bag then I will. Half full bags of ingredients always seem to pile up/ spill out so if I can use it I will.
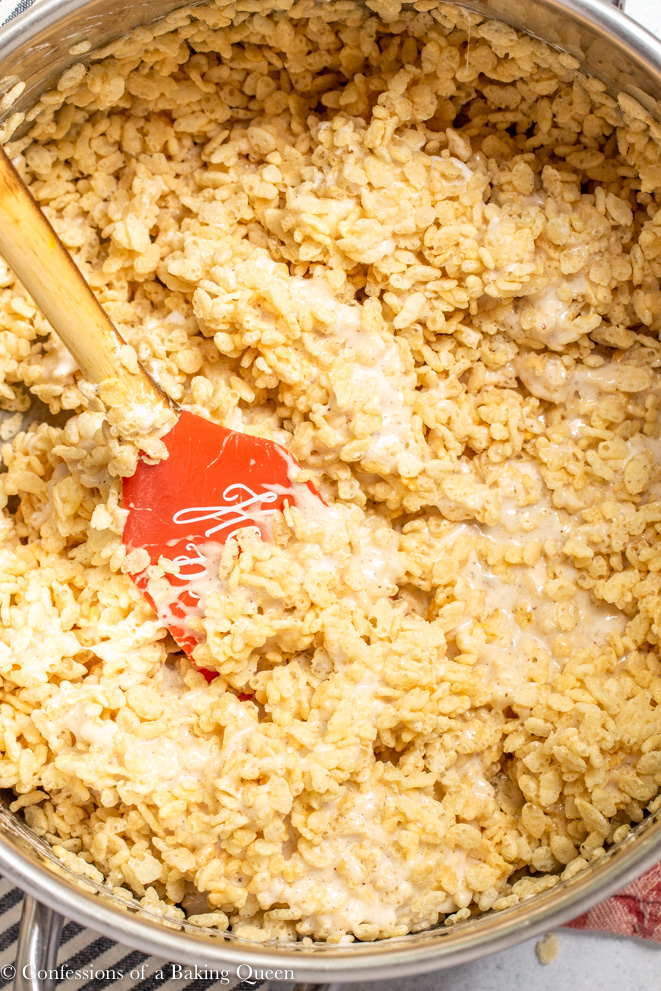
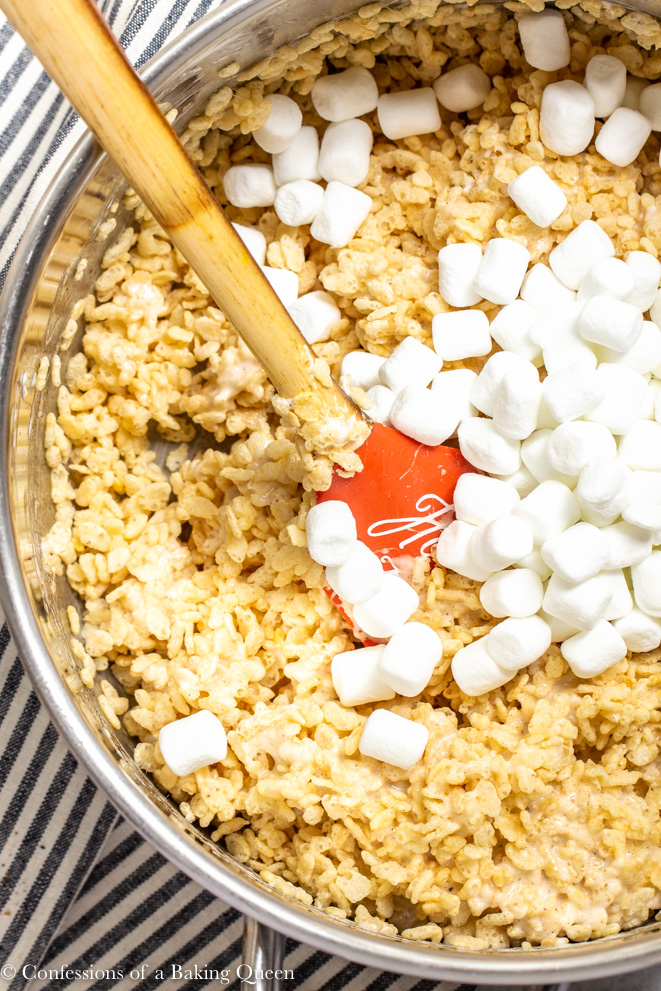
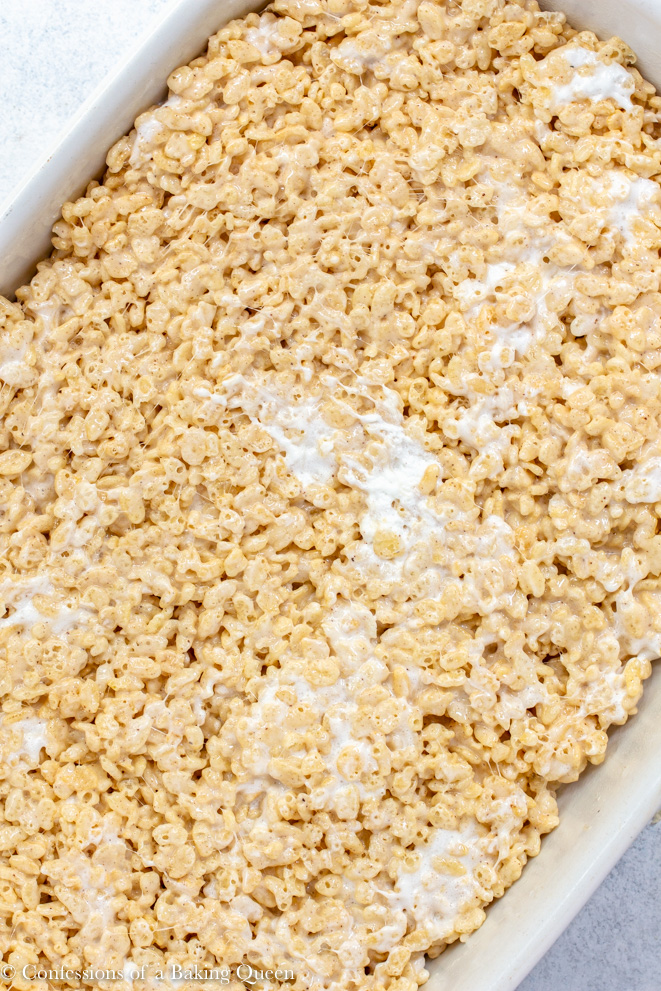
Continue mixing until every rice cereal is coated, you will still have chunks of marshmallows- thanks to the ones you just added. Pour into a greased 9X13 pan. And using a spatula press down evenly. Cover with plastic wrap and let cool for an hour before cutting.
Can I make Brown Butter Rice Krispies ahead of time
If you are serving them the next day I prefer to cut that day. Keeps them fresher. Store in an airtight container for a few days, but they probably won't last that long. These are my favorite plastic containers.
Don't miss out on my peanut butter rice krispie treats and chocolate rice krispie treats.
★★★★★ Please let me know if you make this recipe by leaving a star rating and comment below!
Make sure to join our Newsletter and follow us on Pinterest, Instagram, Facebook, & Twitter.
PrintRecipe Card
Brown Butter Rice Krispies
Easy, quick and delicious these Brown Butter Rice Krispies are perfect for a lunchtime treat or midnight snack. Gorgeous caramelized flavor from the brown butter and extra chewiness from the marshmallows!
- Total Time: 15 minutes
- Yield: 16 Bars 1x
Ingredients
- 4oz (1 Stick/ 8Tbsp) Butter
- Pinch of Salt
- 16oz Mini Marshmallows, divided
- 6oz (6 Cups) Rice Krispies
Instructions
- Place 10oz marshmallows in a large bowl and leave the rest in the bag and your rice Krispies in another large bowl set aside. Grease a 9X13 pan with non-stick spray.
- In a large pot over medium heat add your stick of butter and cook for a few minutes, stirring frequently until the butter has turned a golden brown with lots of brown specks. Add salt and 10oz of marshmallows to butter, stirring until melted.
- Once the majority of your marshmallows have melted add your rice cereal, mix that a few times, before it has completely combined add the remaining marshmallows in the bag.
- Continue mixing until every rice cereal is coated, you will still have chunks of marshmallows- thanks to the ones you just added. Pour into the prepared pan. And using a spatula press down evenly. Cover with plastic wrap and let cool for an hour before cutting.


- Prep Time: 5
- Cook Time: 10
- Category: Dessert
- Method: Cook
- Cuisine: American


horwatwifey says
I'm curious if you feel like the brown butter really changes the rice krispie treat? Do you think it is worth the effort? They look amazing but I can't decide if I should go "old school" and do the nostalgic original recipe or try a new one!
Elizabeth says
Thanks for stopping by! I really do think it makes the rice Krispies that much better. My sister had these and two days later was at a bridal shower that had rice krispies but she said she didn't even want to finish eating it because it was so boring and not as full of flavor with brown butter and moist and chewy with extra marshmallows! LMK if you try them 🙂
Megan @ MegUnprocessed says
These are gorgeous! I've never had brown butter before, but it sounds yummy!
Carolyn says
These look amazing, what a classic recipe!
Linda says
I have been browning my butter forever! My daughter is 36 snd still requests these for her birthday and every other event. Perfect recipe!
Lori Jankowski says
Elizabeth, when you say 16 oz for the mini marshmallows, are you referring to weight? I should be weighing these on my food scale? I can't imagine you mean 16 oz as in 2 cups. Just want to clarify before I try this delicious-sounding recipe!
Elizabeth Waterson says
Yes, I use a bag of marshmallows that is 16oz sold at most stores here. It is definitely more than 2 cups though, since marshmallows are such high in volume measuring by cups isn't accurate. Hope that helps Lori! XX Liz