
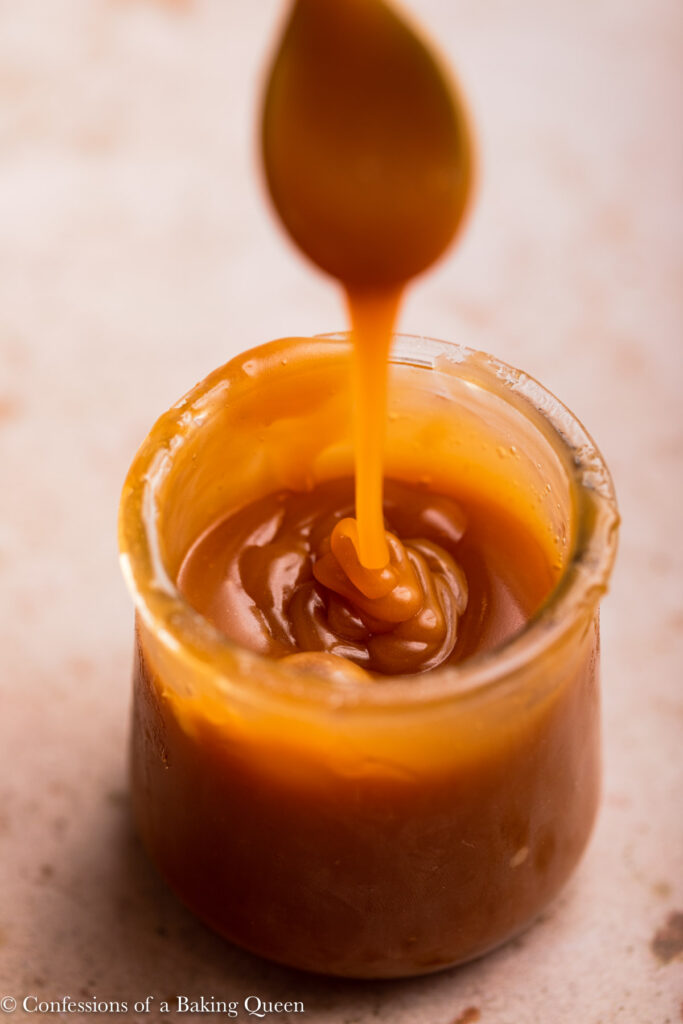
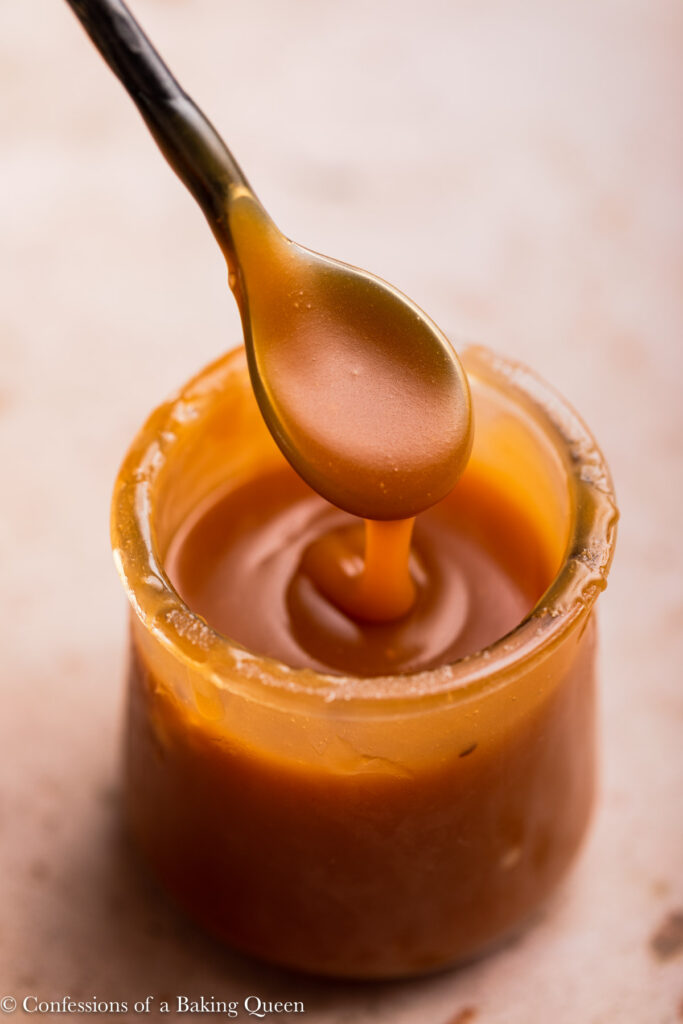
This salted caramel sauce is rich, smooth, and simple to make. You melt granulated sugar until it turns amber, whisk in butter, then cream, and finish with sea salt. The result is a glossy sauce perfect for drizzling over ice cream, apple pie, or straight from the jar. It makes just over 2 cups and stores chilled in the fridge for up to two weeks.
Of all the recipes on my site, this is probably one of my most made recipes, I honestly have made this homemade salted caramel sauce over 50 times. That might be low balling it actually. None the less this recipe is a winner. Mainly because it's so versatile and also a perfect gift. I have made this recipe as a homemade gift multiple times and lemme tell you it is well received!
It's also great to have a batch in your fridge when the moment strikes and you need some caramel with your apples or to swirl in your tres leches cake.
Sugar, Butter & Cream-Your Golden Trifecta
- Granulated Sugar
This is the foundation. Melted until amber, it gives that deep caramel flavor. Burn it and there's no going back. - Unsalted Butter
Adds richness and body. Cut into small pieces so it blends smoothly when added to hot sugar. - Heavy Whipping Cream
Poured in after the butter, it tempers the hot caramel and makes the sauce silky. Removing from heat first helps prevent splatter. - Sea Salt (Fleur de Sel or similar flakes)
Sprinkled in last, it highlights sweetness with a salty finish and enhances overall flavor depth. I usually use French sea salt- Fleur de Sel. Or I use an English salt- Maldon Sea Salt Flakes.
To ensure success I highly recommend using an instant-read thermometer. I get SOOO much use out of my Thermapen Mk4 (affiliate link). From cooking filet mignon, tempering chocolate, roast turkey, making caramel, and more!
Caramelization + Butter + Cream = Bliss
Stop whatever you are doing, this recipe requires full attention, no walking away or you will end up with burnt caramel, and there is no going back from burnt caramel!
While you can eyeball this recipe to an amber color when the sugar is all melted, I love to use my Thermapen to just double-check I am at the right temperature.


Occasionally my caramel sauce ends up with a few sugar lumps if so I just place a metal sieve on top of the storage container and pour the caramel in that way to remove the lumps.
You must be a lover of caramel to be reading this recipe so next time try my chewy caramels recipe.
Delicious Ways to Use Salted Caramel Sauce
- Salted Caramel Crepe Cake
- Salted Caramel Upside Down Apple Pie
- Salted Caramel Tres Leches Cake
- Salted Caramel Creme Brulee
- Salted Caramel Cheesecake
★★★★★ Please let me know if you make this recipe by leaving a star rating and comment below!
Make sure to join our Newsletter and follow us on Pinterest, Instagram, Facebook, & Twitter.
PrintRecipe Card
Salted Caramel Sauce You'll Want by the Jar
This salted caramel sauce is rich, smooth, and simple to make. You melt granulated sugar until it turns amber, whisk in butter, then cream, and finish with sea salt. The result is a glossy sauce perfect for drizzling over ice cream, apple pie, or straight from the jar. It makes just over 2 cups and stores chilled in the fridge for up to two weeks.
- Total Time: 20 Minutes
- Yield: Just over 2 Cups 1x
Ingredients
- 400 grams (2 cups) Granulated Sugar
- 6oz (1 ½ sticks/ ¾ Cup) Unsalted Butter
- 8oz (1 Cup) Heavy Whipping Cream
- 1 Tablespoon Fleur de Sel (I usually use a bit more but go with your taste)
Instructions
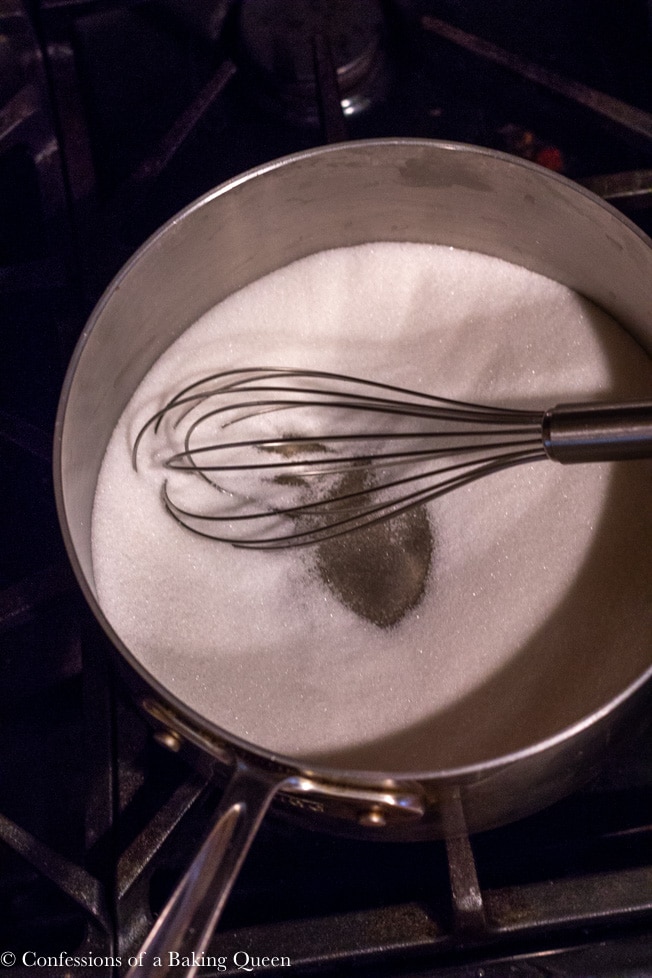
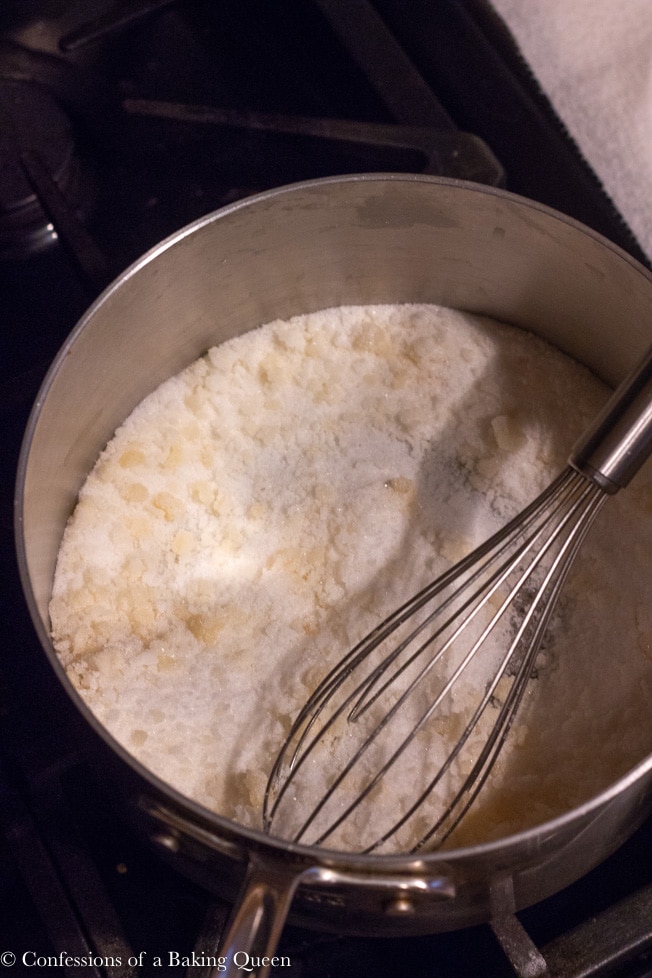
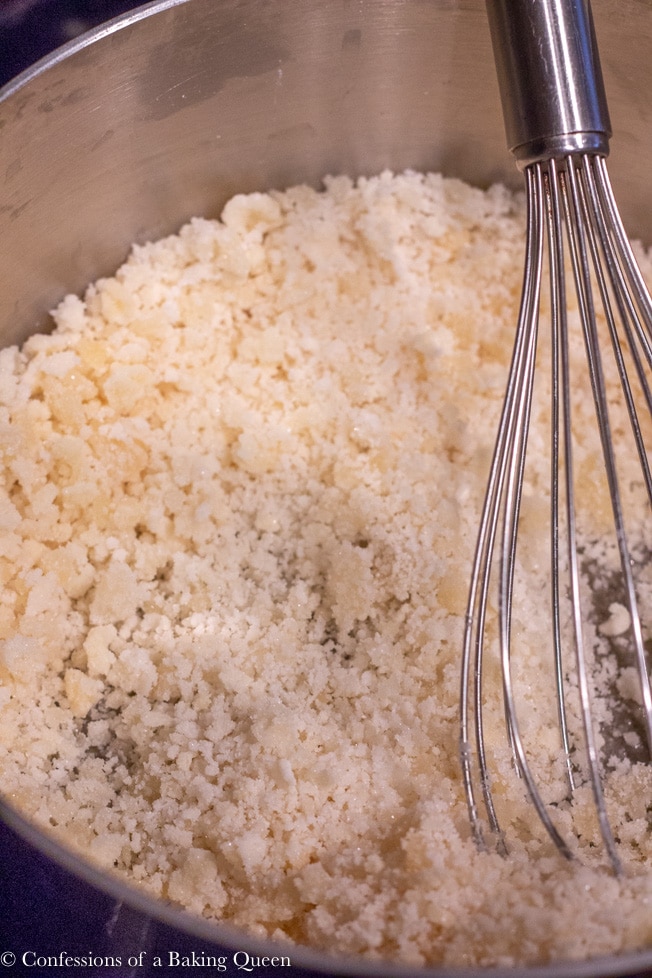
- In a thick bottomed heavy saucepan cook the sugar on low-medium heat. Using a whisk, whisk the sugar frequently. The sugar will begin to turn to an amber color.
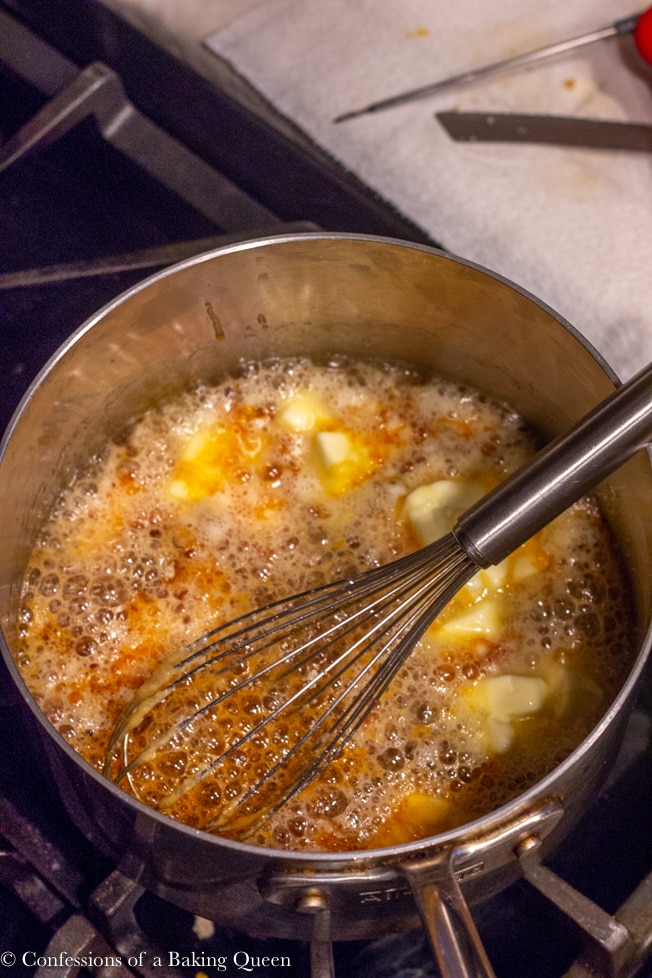
- Watch the sugar carefully as it can burn quite easily. Once it reaches 350F/170C add all of the butter whisking quickly to combine, be careful the mixture will bubble.
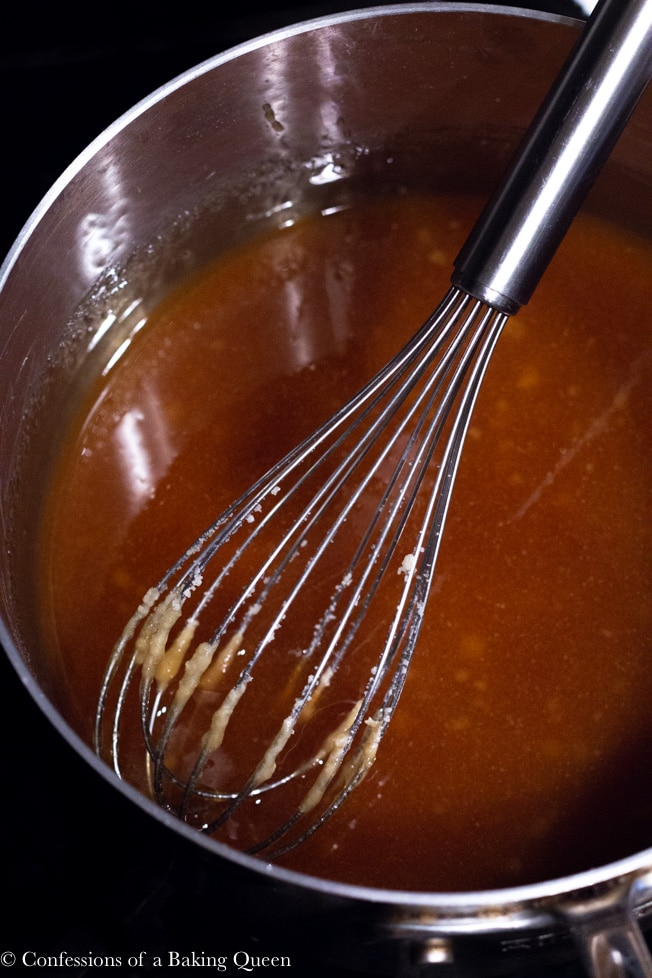
- Remove the saucepan from the heat and whisk in heavy cream, this will take a minute or two just keep mixing to combine.
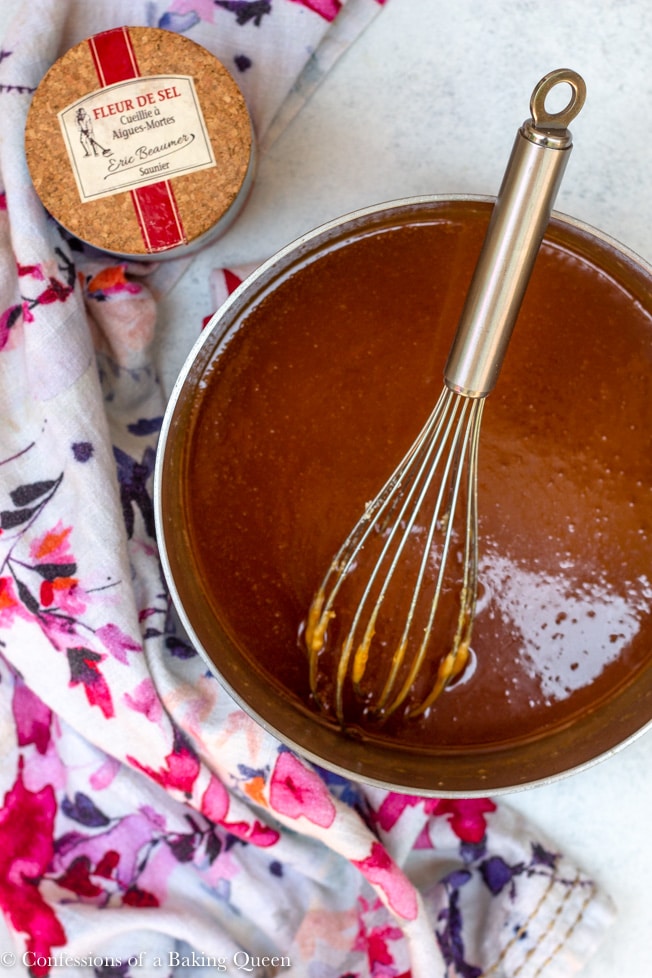
- Mix in the sea salt and let the caramel cool.
- Once cool pour into an airtight container. A mason jar, plastic container, reused spaghetti sauce jar..etc.
- Store the caramel in the fridge for up to two weeks.


Notes
*Occasionally my caramel sauce ends up with a few sugar lumps if so I just place a metal sieve on top of the storage container and pour the caramel in that way to remove the lumps.
- Prep Time: 5
- Cook Time: 15
- Category: Dessert
- Method: Cooking
- Cuisine: American


Kathleen says
How much salted caramel does this make? Thanks!
Elizabeth says
OMG yes!!
Susan Gibson says
This stuff is WONDERFUL! At least my second batch was! Not sure what happened with the first batch, as just as it reached 350...it bubbled up and overflowed, spilling all down the sides of my pot, on my grates & onto my stove top. I actually saw the thermometer go from 325 to 350...turned off the fire and lifted the pot...but it still overflowed. Like a big dummy, I tried to salvage it by adding the butter and cream as directed...but it was nasty...burnt!
The mess was awful, but once I got past panic mode, it all cleaned up well...with hot water on a sponge and a little patience!
I got brave and tried it again today...& it is perfect! I thought the butter would never blend in...but eventually, it did! I kept the fire pretty low, so it may have taken longer than the recipe states...but i wasn’t taking any chances!
Hubby loves it and is already planning to dip apple slices in it, drizzle it over ice cream....& I’m pretty sure he has already gotten a spoon and dipped into it!
Elizabeth Waterson says
Oh no, Susan!!! I am so sorry you had a bad batch -- if the heat is too high the temperature can definitely jump (which all of our stoves are different so who knows!). I would definitely stay on the side of lower temp than higher, such a heartbreak when it burns. The more you make it the more you will start to just know when it is done even without the thermometer. I hope you enjoy it on all the things, I always have a jar in my fridge! Thank you for coming back to review the recipe. XX Liz
Patty says
I'm making it again tonight. It was incredible. But vanilla bean ice cream, flavored coffee with it and now I need it for cheesecake.
Patty says
I'm making it again tonight. It was incredible. Topped vanilla bean ice cream, flavored coffee with it and now I need it for cheesecake.
Elizabeth Waterson says
Thank you so much for the review Patty, I am so happy to hear you've had success multiple times!! XX Liz
Ashlea Denton says
Is it supposed to be liquidy before it cools?
Elizabeth Waterson says
Hi Ashlea, yes it is quite liquidy before, it thickens as it cools. Please let me know how it turned out for you! XX Liz
Ethan says
At 350 I added butter then cream and the salt instant hardened into a rock. Twice in a row.
Elizabeth Waterson says
Hi, Ethan thanks for reaching out. Are you saying that just the salt hardened into a rock or the whole mixture did?
Karla says
Yum!!!!!! I just made it for the kids to eat some apples dipped in this golden goodness!!! I’m not a cook whatsoever but I just made my very own caramel!!!! So easy to follow and the sea salt recommendation was amazing!!!
Elizabeth Waterson says
Aww, thank you so much for coming back to rate and review the recipe Karla. I am so glad you enjoyed this caramel, it's so versatile on so many treats!! XX Liz
Sandra York says
I usually heat the cream with the butter than pour it in the sugar. If your cream is cold it will harden the sugar.
Julie says
This was an amazing recipe. It turned out beautiful and tastes fabulous. I would recommend to any level cook as it is beyond simple to make. I personally prefer it with a teaspoon of pure vanilla extract.
Elizabeth Waterson says
Hi Julie, thank you so much for coming back to leave a star rating and review, I truly appreciate it! So glad you enjoyed it so much and you're right vanilla is a great addition! XX Liz
Elizabeth says
Ok this is not good.the butter did not incorporate into the sugar and it is balls of sugar in a butter soup.
Elizabeth Waterson says
Hi Elizabeth, I am so sorry you did not have success with the recipe. Makes me so sad! I am wondering if your sugar was not melted all the way and had reached the proper temperature before adding the butter. I have made this recipe well over 25 times, occasionally I have a few sugar lumps I just strain the sauce through a mesh sieve to remove but it always incorporates if I keep mixing. Please feel free to message me on Instagram too, we can send photos back and forth and I can try to help troubleshoot. XX Liz
Sandy says
Made your recipe tonight and it came out perfect! I used salted butter and I was afraid that the caramel wouldn’t come together as it is supposed to but everything came out perfect. I did use a medium deep wok pan for fear of the overflow like others mentioned but I had zero issues with this, thank the culinary gods!
Brenda Fredricks says
I am 55+ years. I’ve never made my own caramel, but I tried it today using your recipe. Not sure how it’s going to turn out but at least I can say I tried!!
Michelle Brown says
think that 350 is too high...was quite disappointed