This easy tutorial teaches you how to make chocolate curls. Perfect to decorate a cake, cheesecake, or other desserts, you will love how easy these fancy decorations are!
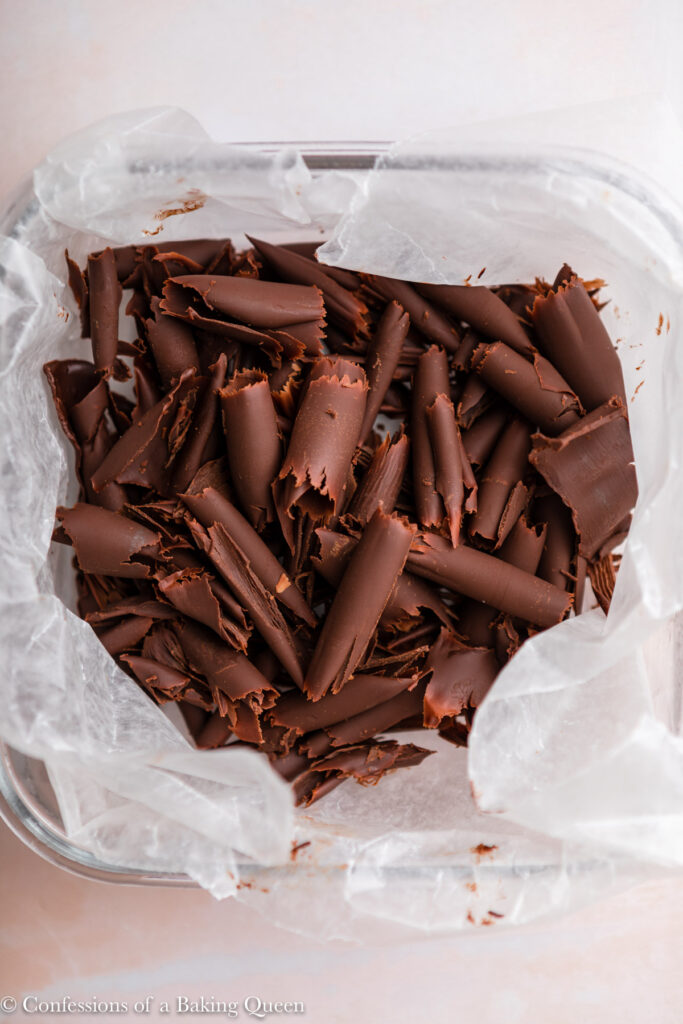
I wanted to share a quick tutorial for making chocolate curls, they are so beautiful. I know the first time I made them years ago I was so intimidated at the thought that it actually took me years to make them. When I finally did I laughed at myself for being so scared for all those years prior!! I had the same experience with creme brulee too, now also a favorite!!
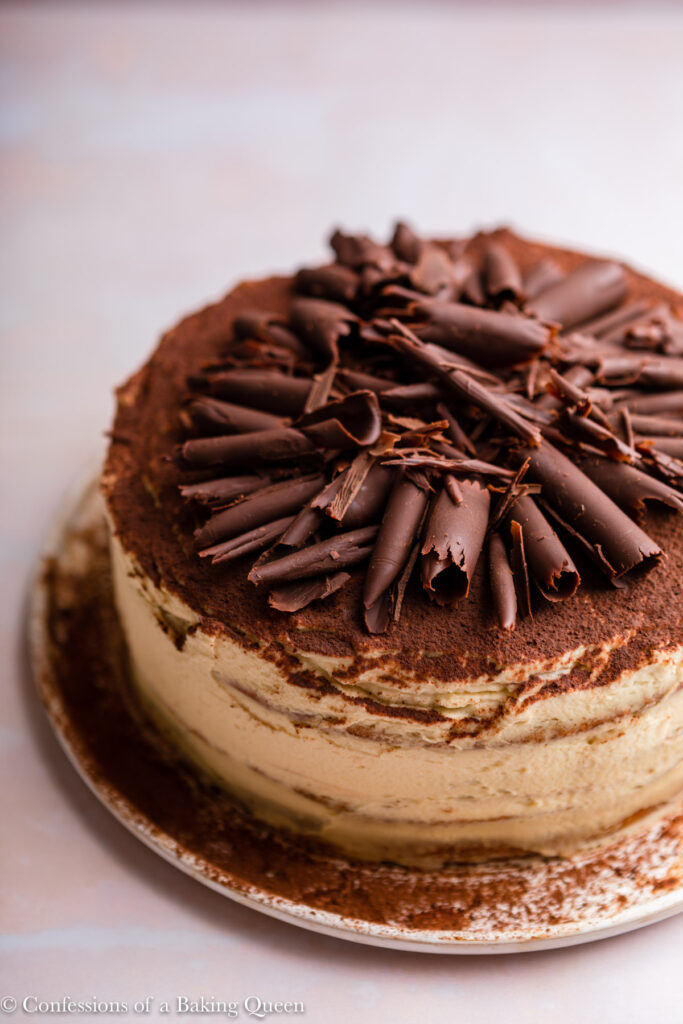
Trust me, don't wait, make these chocolate curls now and pat yourself on the back!! They are perfect atop so many desserts or even a just a bowl of ice cream looks fancy with chocolate curls!
Let's get to the recipe
Ingredients
You only need two simple ingredients to make chocolate curls.
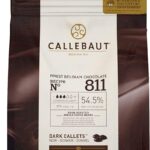
- Good Quality Chocolate. You'll want to finely chop it or use high-quality chocolate callets. My favorite is Callebaut Chocolate Callets.
- Butter or Coconut Oil. This fat helps the chocolate curl easier and stay shiny.
If you want to make just chocolate shavings you can take a vegetable peeler and peel a chocolate bar. This method will create very small chocolate shavings that do the trick, but don't look as pretty as these curls. Be careful of your fingers!
Instructions
In a heat-proof bowl add the chopped chocolate and butter. There are two ways to melt it, but whichever way you go be careful as once chocolate burns you cannot go back.
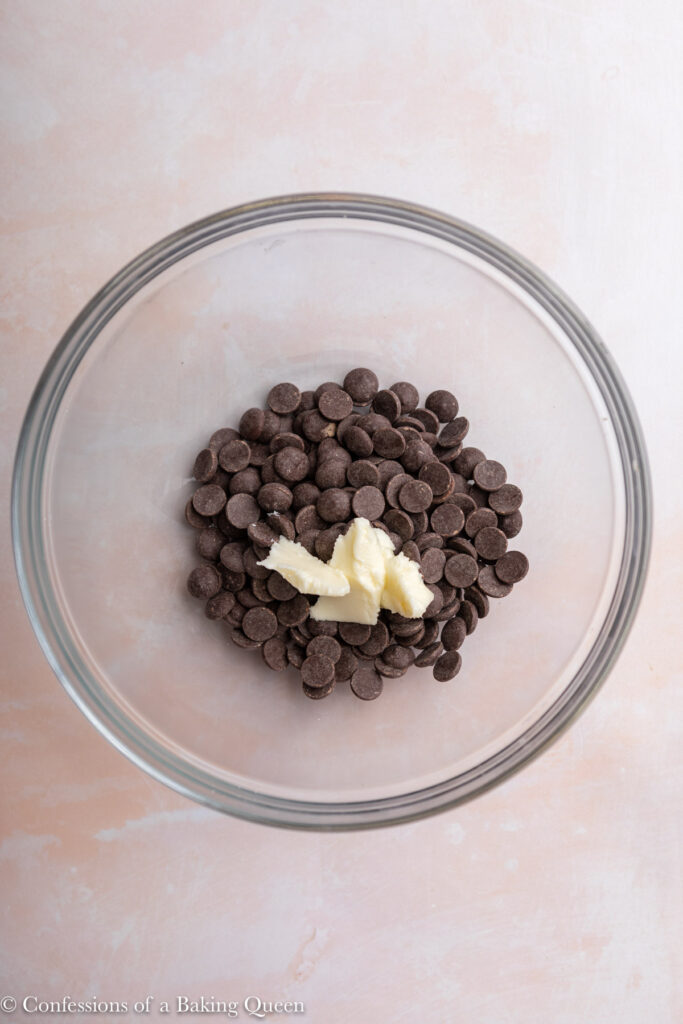
You can either microwave it on 50% power in 15-second increments, mixing in between, when you think it has one more increment it is actually probably done and you just need to mix it for a minute or two and let the residual heat completely melt it.
Or you can melt the chocolate in a bain-marie, place a pot filled with a little water over low-medium heat with a larger heatproof bowl on top (the bowl should not be touching the water). Add chocolate and butter, stirring occasionally. You are letting the steam from the water melt the chocolate slowly to prevent burning.
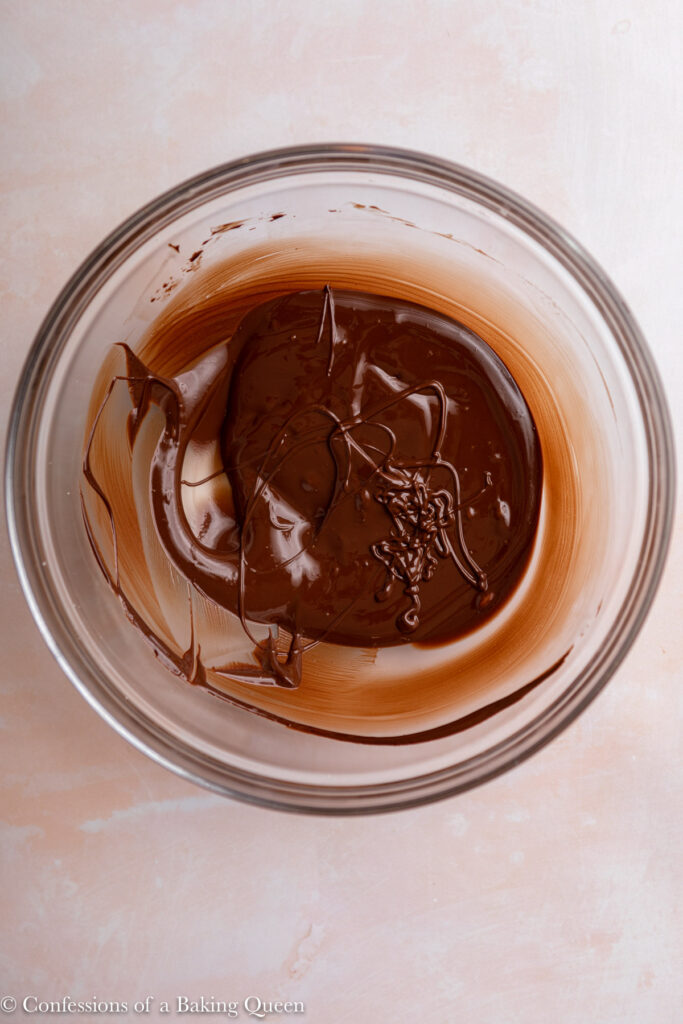
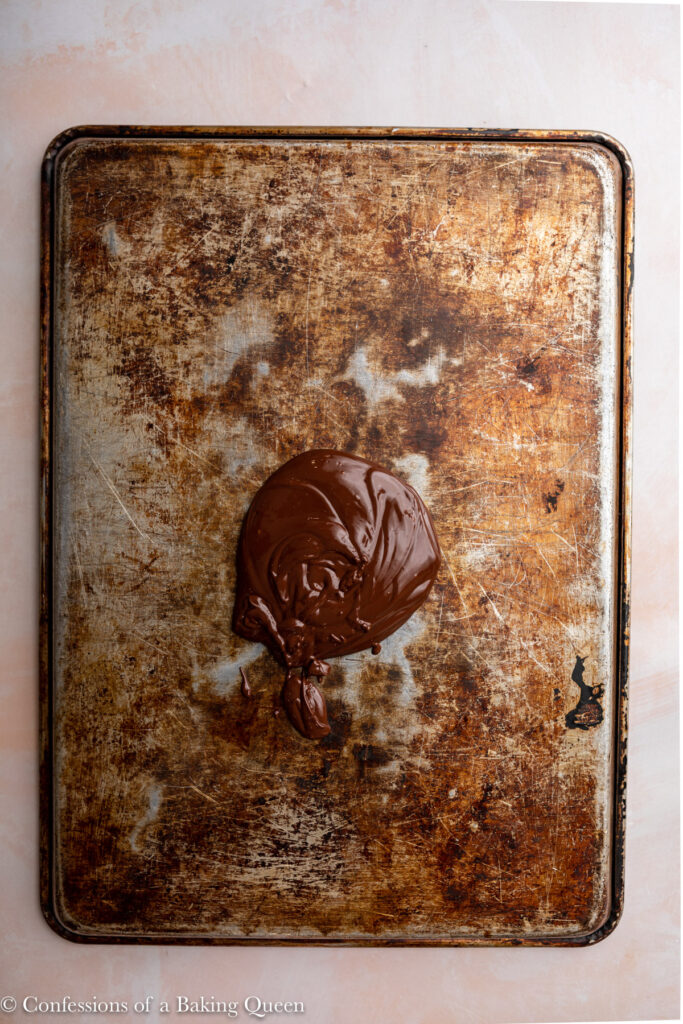
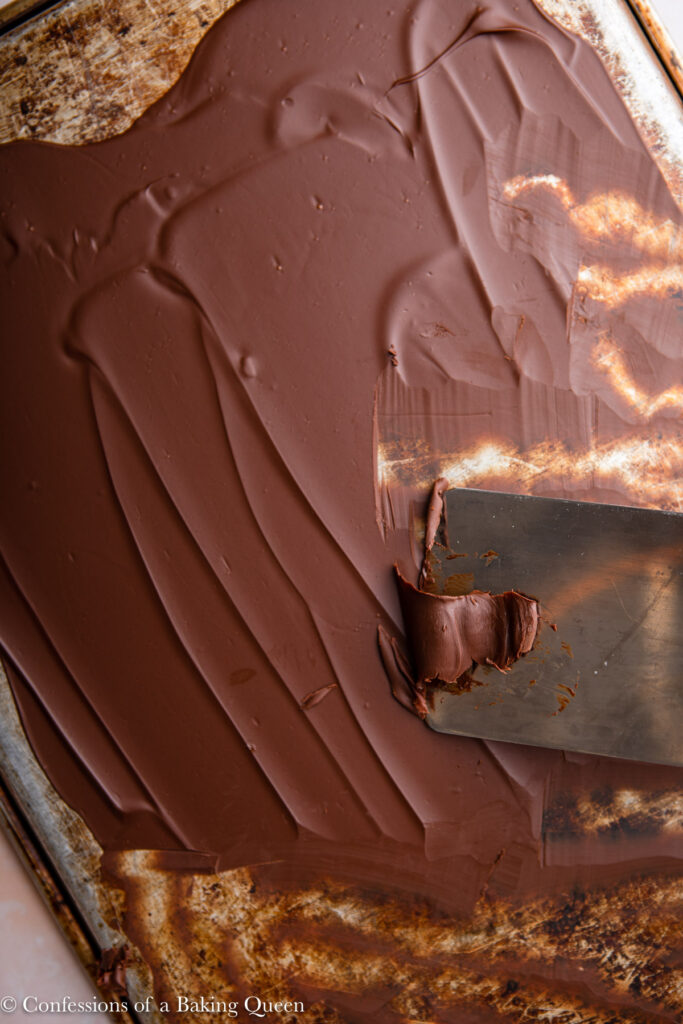
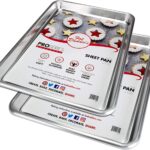
Once completely melted pour the melted chocolate on the back of a clean metal baking sheet/ cookie sheet. Use an angled spatula to spread the chocolate into a thin layer, but not paper-thin.
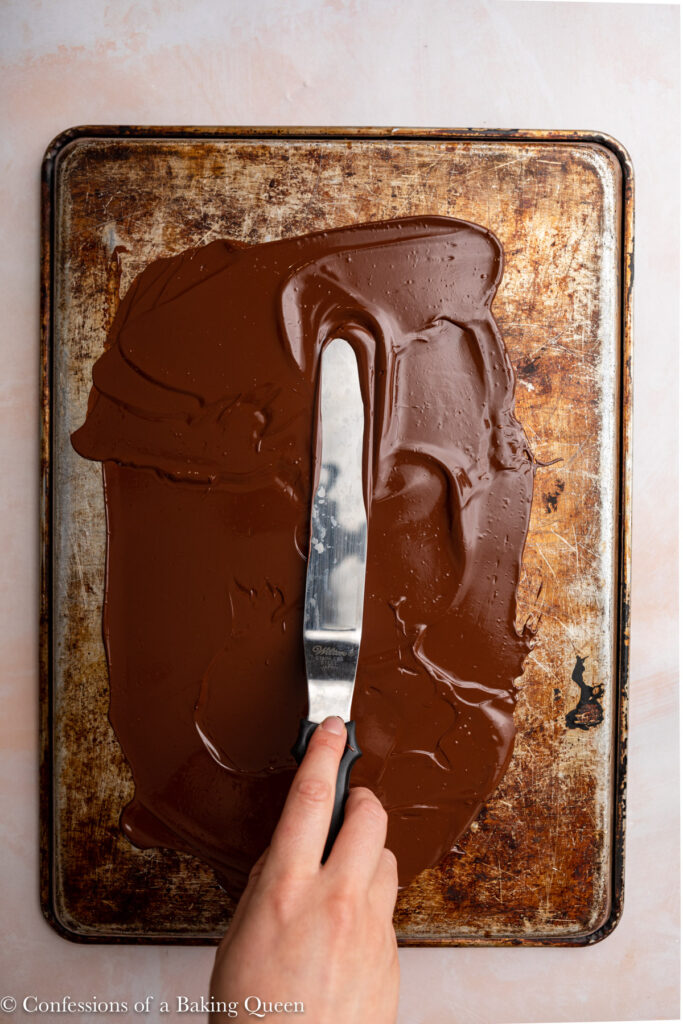
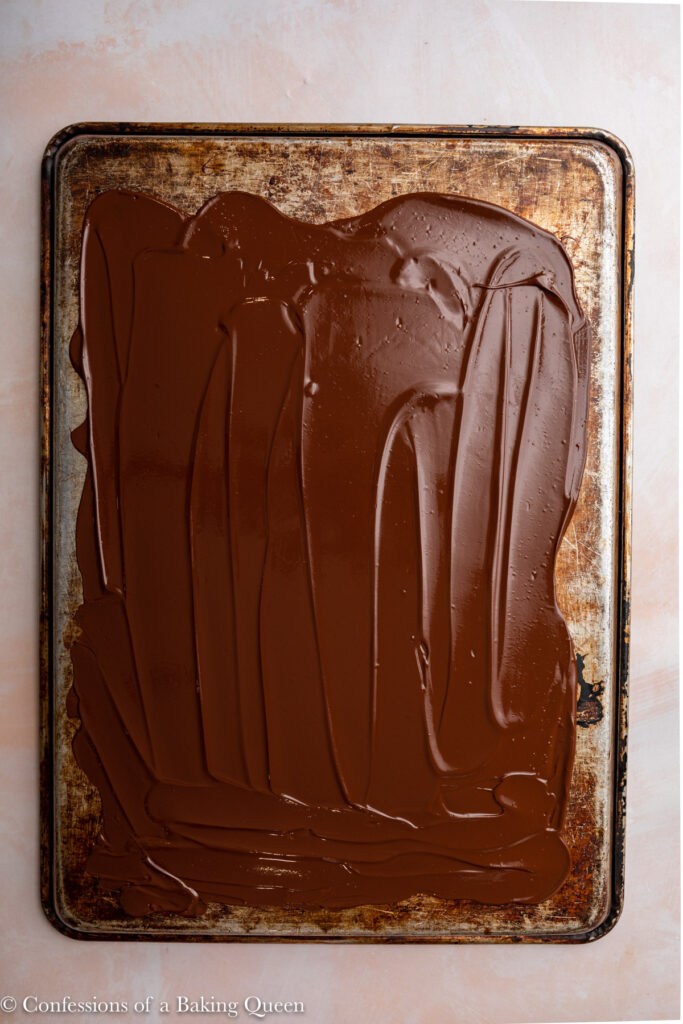
Place the pan in the fridge for 10 minutes or so. Then take the pan out and use the back of a metal spatula to gently push the chocolate and roll it into a curl.
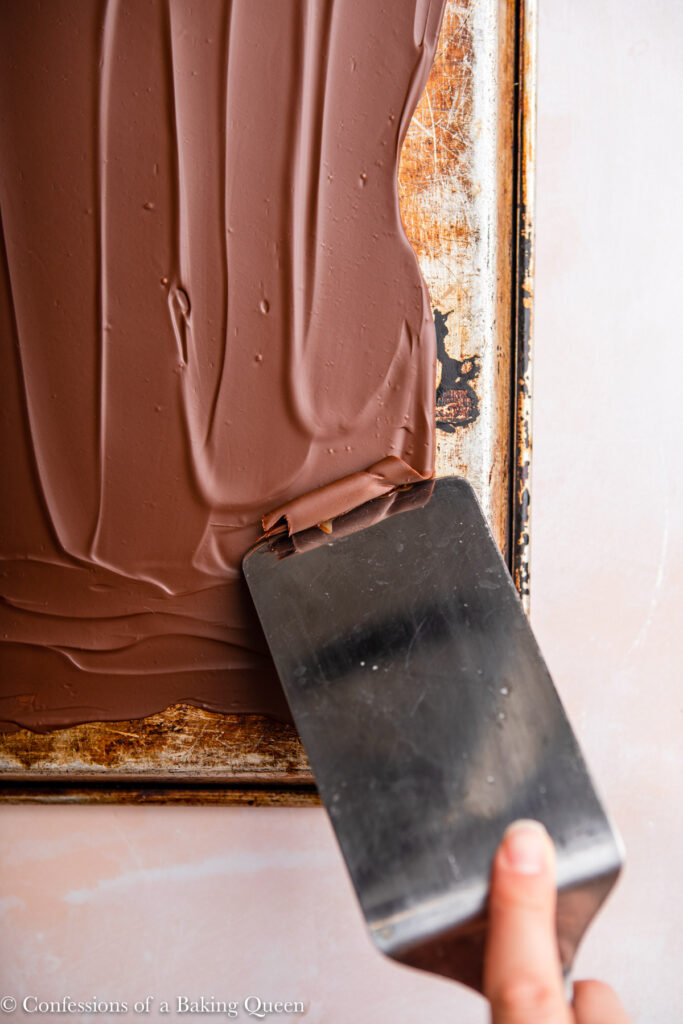
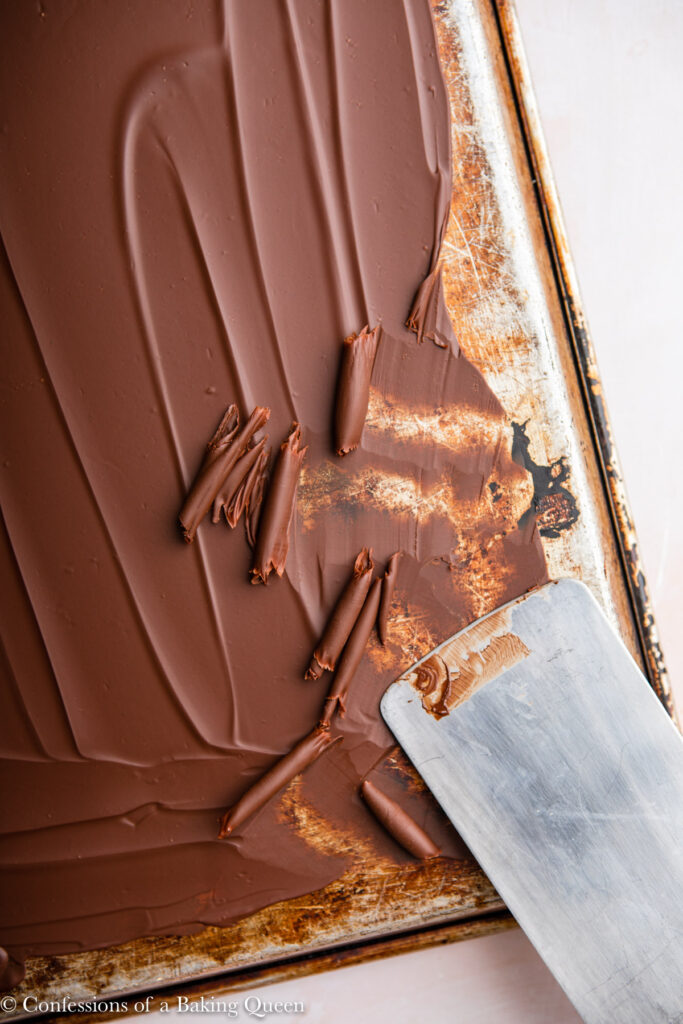
If the chocolate is too soft it will smudge together if it is too cold it won't roll into a chocolate curl it will shave off. So it's best to just test a piece or two. Depending on how cold/ and how full your fridge is your chocolate may take longer or shorter to firm up properly.
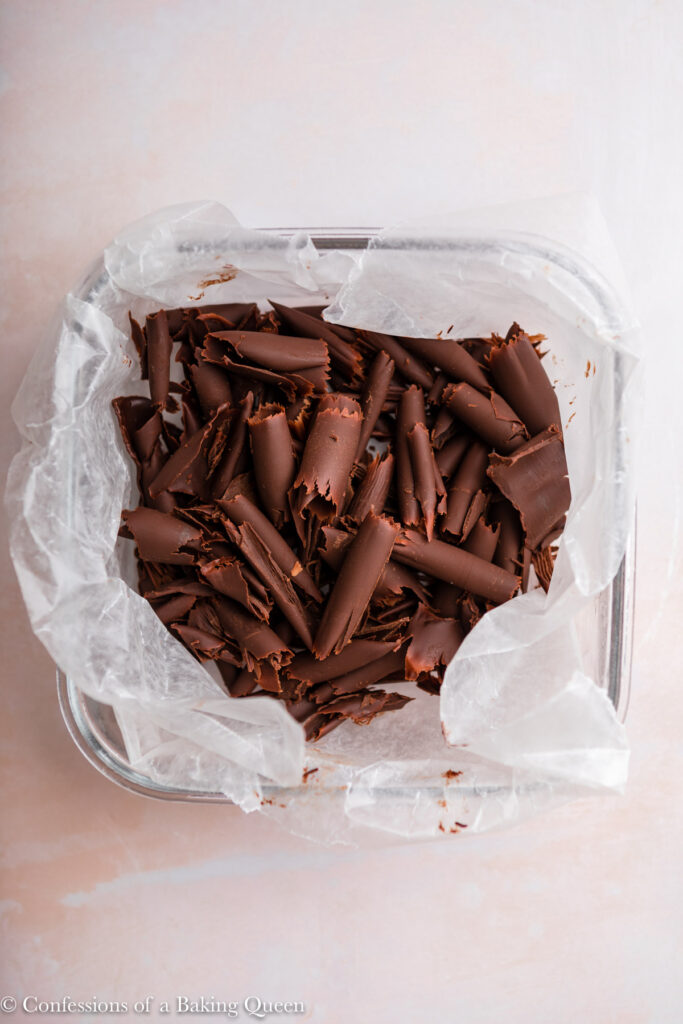
Place the chocolate curls in a wax-lined container and stick in the fridge or freezer immediately to prevent the curls from sticking together and melting down.
Store in the fridge for up to one week.
How to freeze
You can definitely store these in the freezer or refrigerator a few days before using. I place them in a wax lined sealed container to keep fresh.
Can you double
You can totally double this recipe to make tons of chocolate curls. You just need to use two baking sheets, you need the chocolate to be the right thickness, too thick and they won't curl.
Recipes to use these on
Chocolate curls make just about anything feel more fancy some of my favorite ways to use them are:
My chocolate Guinness cake recipe is delicious and chocolate curls would be a fabulous addition!
Adding a curl on top of this chocolate cheesecake would make it even more gorgeous!
Or on top of these outrageous kiss of death chocolate cupcakes my friend Hayley makes!!
★★★★★ Please let me know if you make this recipe by leaving a star rating and comment below!
Make sure to join our Newsletter and follow us on Pinterest, Instagram, Facebook, & Twitter.
Print
How to Make Chocolate Curls
This easy tutorial teaches you how to make chocolate curls. Perfect to decorate a cake, cheesecake, or other desserts, you will love how easy these fancy decorations are!
- Total Time: 10 minutes
- Yield: 4oz Chocolate Curls 1x
Ingredients
- 4oz Good Quality Chocolate, finely chopped
- 2 Teaspoons Butter or Coconut Oil
Instructions
- In a heat-proof bowl add the chopped chocolate and butter. You can either microwave it on 50% power in 15-second increments, mixing in between, when you think it has one more increment it is actually probably done and you just need to mix it for a minute or two and let the residual heat completely melt it. Chocolate burns easily so don't overheat it! OR make a bain-marie- place a pot filled with a little water over low-medium heat with a larger heatproof bowl on top (the bowl should not be touching the water). Add chocolate and butter, stirring occasionally. You are letting the steam from the water melt the chocolate slowly to prevent burning.
- Once completely melted pour the chocolate on the back of a clean metal baking sheet. Use an angled spatula to spread the chocolate into a thin layer, but not paper-thin. Place the pan in the fridge for 10 minutes or so. Then take the pan out and use the back of a metal spatula to gently push the chocolate and roll it into a curl. If the chocolate is too soft it will smudge together if it is too cold it won't roll into a chocolate curl it will shave off. So it's best to just test a piece or two, depending on how cold/ and how full your fridge is your chocolate may take longer or shorter to firm up properly.
- Place chocolate curls in a wax-lined container and stick in the fridge or freezer immediately to prevent the curls from sticking together and melting down.
- Store in the fridge for up to one week.
- Prep Time: 5
- Cook Time: 5
- Category: Dessert
- Method: Cook
- Cuisine: American




Mary says
I was looking for the correct method to make chocolate curls for my French Silk Pie yesterday.
Finally, I was successful to make Chocolate Curls WITH THIS SPECIFIC RECIPE :). Others (such as using Vegetable peeler etc) did not work for me but this one was easy to follow and I made beautiful curls. Thank you Elizabeth for sharing the recipe.
Elizabeth Waterson says
Thank you for the lovely review, Mary! I am sure your pie looked just beautiful!!! Take care. XX Liz
Penelope says
Sorry. I don't know what went wrong, but the chilled chocolate definitely did not curl. Maybe not thin enough?
Elizabeth Waterson says
Hi Penelope, it may have been too thick or too cold, or too warm, you have to find the perfect temperature. I test one and then will either chill it longer or let it sit to warm up a bit before I try one again. Due to everyone's fridge being set at different temperatures it's hard to give an exact timing. Let me know if you have any other questions or if you try again. XX Liz
Yasmin Forbes says
Hey there,
I must say this is HANDS DOWN the best chocolate curls recipe/method EVER!
I use chocolate a fair bit in baking, and have inconsistent results trying to be all scienc-ey and temper the darned thing. Its especially challenging with huge variances in weather here lately, and after many failed attempts of tempering for an upcoming cake, I saw your recipe and BING! OF COURSE BUTTER! ☝️to keep it soft.
I had to give you a shoutout as this is by far the easiest method to create those luscious curls.
THANK YOU!
Yasmin Forbes xx