Ingredients
Units
Scale
- 1 Tablespoon + 2 Teaspoons Heavy Whipping Cream
- 1 Large Egg Yolk
- 1 Teaspoon Pure Vanilla Extract
- 156 grams (1 1/4 Cup) All-Purpose Flour/ Plain Flour
- 80 grams (2/3 Cup) Powdered/ Icing/ Confectioners Sugar
- 1/4 Teaspoon Salt
- 4oz (8 Tablespoons) Butter, cold & cut into 12 chunks
Instructions
- Mix together the egg yolk, heavy cream, and vanilla extract in a small bowl. Set that aside. In a large bowl or food processor add the flour, sugar, and salt, process until just combined, about 10 seconds.
- Add the cold butter chunks and pulse on high 10-15 times- you will have a crumbly texture with some chunks of butter. If mixing by hand use your fingers to rub the butter into the flour until a coarse meal is formed. Don't overmix it you want small chunks of butter left.
- Gently stream in the cream/ egg mixture. If using a food processor the dough, will lump up into a ball, turn off, do not over mix. It does not need to be one cohesive ball as soon as you tip it out of the bowl you can gently press the dough together to form one cohesive ball.
- Place tart dough onto a clean surface and pat into a 6 inch round disc. Work quickly, you don't want to spend too much time working with the dough as the warmth of your hands can melt the butter. Wrap the dough disc tightly in plastic wrap and let chill in the fridge for 30 minutes or up to 4 days.
- Once the dough has chilled for 30 minutes (if it is in the fridge for more than 30 minutes let the dough sit out to soften a bit before rolling out) place it on a lightly floured work surface and use a rolling pin to gently and evenly roll the dough to 1/8" inch thick. Making sure to turn the dough multiple times to ensure an even dough. Gently roll the dough onto the rolling pin and slide the tart tin underneath the roll the dough onto the tart tin.
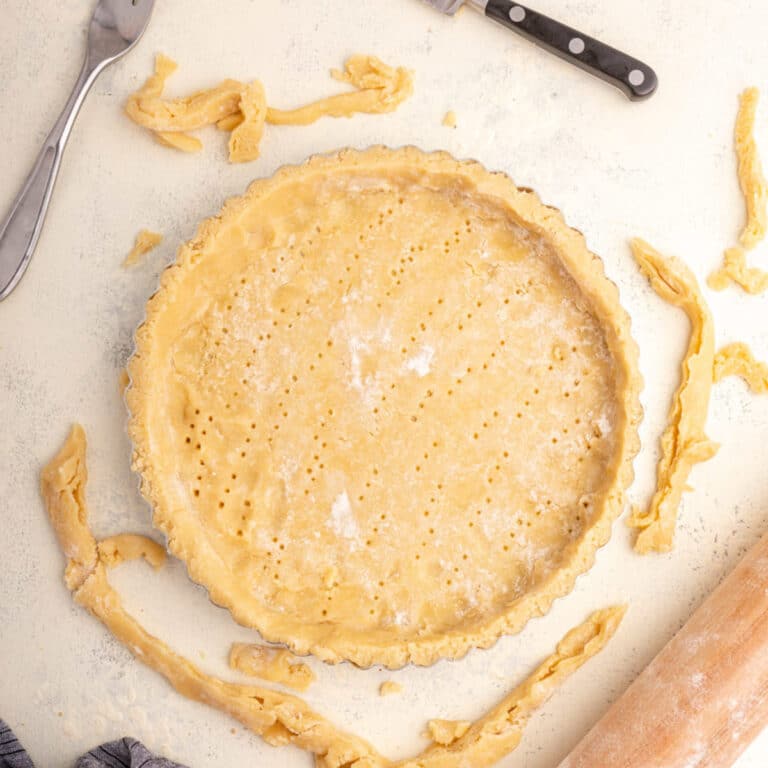
- Gently use your fingers to press the dough into the mold- if it cracks a little don't worry just press it back together. Use a knife to cut off the excess dough leaving a 1-inch lip around- I like to create a thicker crust by folding that lip over to create an almost double crust. Use a rolling pin to roll on top of the tart tin to remove any excess dough and use a knife to trim any specific areas.
- Use a fork to prick the crust all over then place it in the freezer for 30 minutes or up to two days (if freezing for longer than 30 minutes wrap the tin in plastic wrap). It is important for the dough to be ice cold when it goes into the oven.
- When ready to bake preheat the oven to 375F/190C. Lightly spray a piece of foil with non-stick cooking spray and gently press against the tart- greased side down. Fill with dry beans, rice, or pie weights.
- Place the cold tart tin on a baking sheet and bake for 20 minutes then gently remove the foil and bake for another 5-10 minutes or until golden brown. Gently place the tart tin on a wire rack to cool completely before using.


Notes
The tart shell can be baked and cooled then store in an airtight container for up to 2 days before using, although I prefer to use it fresh. My ideal way would be to prepare the tart dough until just before baking and leave it in the freeze then bake.
- Prep Time: 20
- Cook Time: 30
- Category: Dessert
- Method: Bake
- Cuisine: French