Ingredients
Units
Scale
Pâte Sucrée/Sweet Shortcrust Pastry
- 1 Tablespoon + 2 Teaspoons Heavy Whipping Cream
- 1 Large Egg Yolk
- 1 Teaspoon Pure Vanilla Extract
- 156 grams (1 1/4 Cup) All-Purpose Flour/ Plain Flour
- 80 grams (2/3 Cup) Powdered/ Icing/ Confectioners Sugar
- 1/4 Teaspoon Salt
- 4oz (8 Tablespoons) Butter, cold & cut into 12 chunks
Creme Patissiere/ Vanilla Pastry Cream
- 5 Large Egg Yolks
- 1/2 cup Granulated Sugar/ Caster Sugar
- 3 1/2 Tablespoon Cornstarch/ Cornflour
- 2 cups Whole Milk
- 1/4 Teaspoon Salt
- 4 Tablespoons Butter, cold and diced
- 2 Teaspoons Vanilla Bean Paste or Pure Vanilla Extract
Toppings
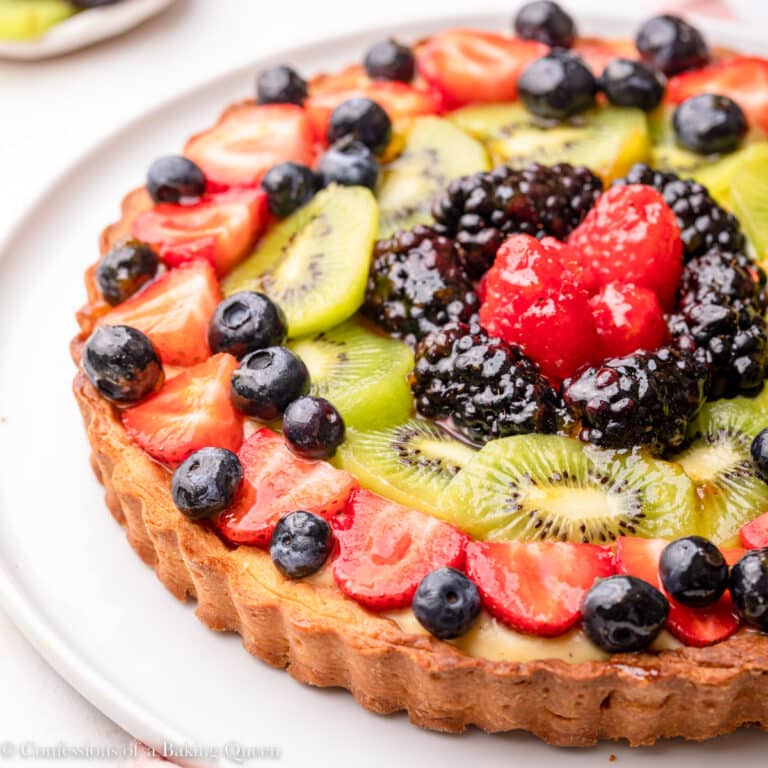
- Fresh Fruit (Blackberries, Raspberry, Blueberries, Strawberries, Kiwi or Mango)
- Apricot Jam
Instructions
Pâte Sucrée/Sweet Shortcrust Pastry
- Mix together the egg yolk, heavy cream, and vanilla extract in a small bowl. Set that aside. In a large bowl or food processor add the flour, sugar, and salt, process until just combined, about 10 seconds.
- Add the cold butter chunks and pulse on high 10-15 times- you will have a crumbly texture with some chunks of butter. If mixing by hand use your fingers to rub the butter into the flour until a coarse meal is formed. Don't overmix it you want small chunks of butter left.
- Gently stream in the cream/ egg mixture. If using a food processor the dough, will lump up into a ball, turn off, do not over-mix. It does not need to be one cohesive ball as soon as you tip it out of the bowl you can gently press the dough together to form one cohesive ball.
- Place tart dough onto a clean surface and pat into a 6 inch round disc. Work quickly, you don't want to spend too much time working with the dough as the warmth of your hands can melt the butter. Wrap the dough disc tightly in plastic wrap and let chill in the fridge for 30 minutes or up to 4 days.
- Once the dough has chilled for 30 minutes (if it is in the fridge for more than 30 minutes let the dough sit out to soften a bit before rolling out) place it on a lightly floured work surface and use a rolling pin to gently and evenly roll the dough to 1/8" inch thick. Make sure to turn the dough multiple times to ensure an even dough. Gently roll the dough onto the rolling pin and slide the tart tin underneath the roll the dough onto the tart tin.
- Gently use your fingers to press the dough into the mold- if it cracks a little don't worry just press it back together. Use a knife to cut off the excess dough leaving a 1-inch lip around- I like to create a thicker crust by folding that lip over to create an almost double crust. Use a rolling pin to roll on top of the tart tin to remove any excess dough and use a knife to trim any specific areas.
- Use a fork to prick the crust all over then place it in the freezer for 30 minutes or up to two days (if freezing for longer than 30 minutes wrap the tin in plastic wrap). It is important for the dough to be ice cold when it goes into the oven.
- When ready to bake preheat the oven to 375F/190C. Lightly spray a piece of foil with non-stick cooking spray and gently press against the tart- greased side down. Fill with dry beans, rice, or pie weights.
- Place the cold tart tin on a baking sheet and bake for 20 minutes then gently remove the foil and bake for another 5-10 minutes or until golden brown. Gently place the tart tin on a wire rack to cool completely before using.
Creme Patisserie/ Vanilla Pastry Cream
- In a medium saucepan over low-medium heat add the whole milk. Let cook for a couple of minutes to warm it up - do not boil the milk.
- While milk is warming, in a medium bowl whisk together the egg yolks, corn starch, salt, and sugar. Whisk for two minutes, the mixture should be much lighter in color.
- Once the milk mixture is warmed slowly add a little bit to the egg mixture and whisk to combine. Then add all of the milk slowly and whisk to combine.
- Add mixture back to the pot and cook over low-medium heat for another couple of minutes, whisking constantly. The mixture will thicken up. You want it quite thick, the mixture will "burp" bubbles will pop on the surface- this shows it is done.
- Take off the heat and immediately add the cold butter and vanilla bean paste or extract. Then pour into an air-tight container, place plastic wrap on top, and push directly on top this helps prevent a thick skin from forming. Let chill in the fridge for at least two hours or up to three days. Rewhisk the pastry cream before serving.
Assembly
- The tart is best served soon after assembly so I don't suggest assembling more than a few hours before serving. Add your pastry cream and use an offset spatula to spread it into an even layer. Layer on your fruit in your desired design.
- In a small saucepan over low heat or in the microwave melt together some apricot jam with a splash of water to thin it out. Once melted use a pastry brush to brush the fruit with the glaze. Serve immediately or store in an air-tight container in the fridge. The tart is best served day of assembly but leftovers will keep in the fridge for a few days.


Notes
- Get creative and use whatever fruit you like, but keep in mind that fruit that goes brown like bananas or apples is not ideal, nor is a fruit that omits a lot of moisture like citrus.
- Prep Time: 30 Minutes
- Cook Time: 45 Minutes
- Category: Dessert
- Method: Bake
- Cuisine: French